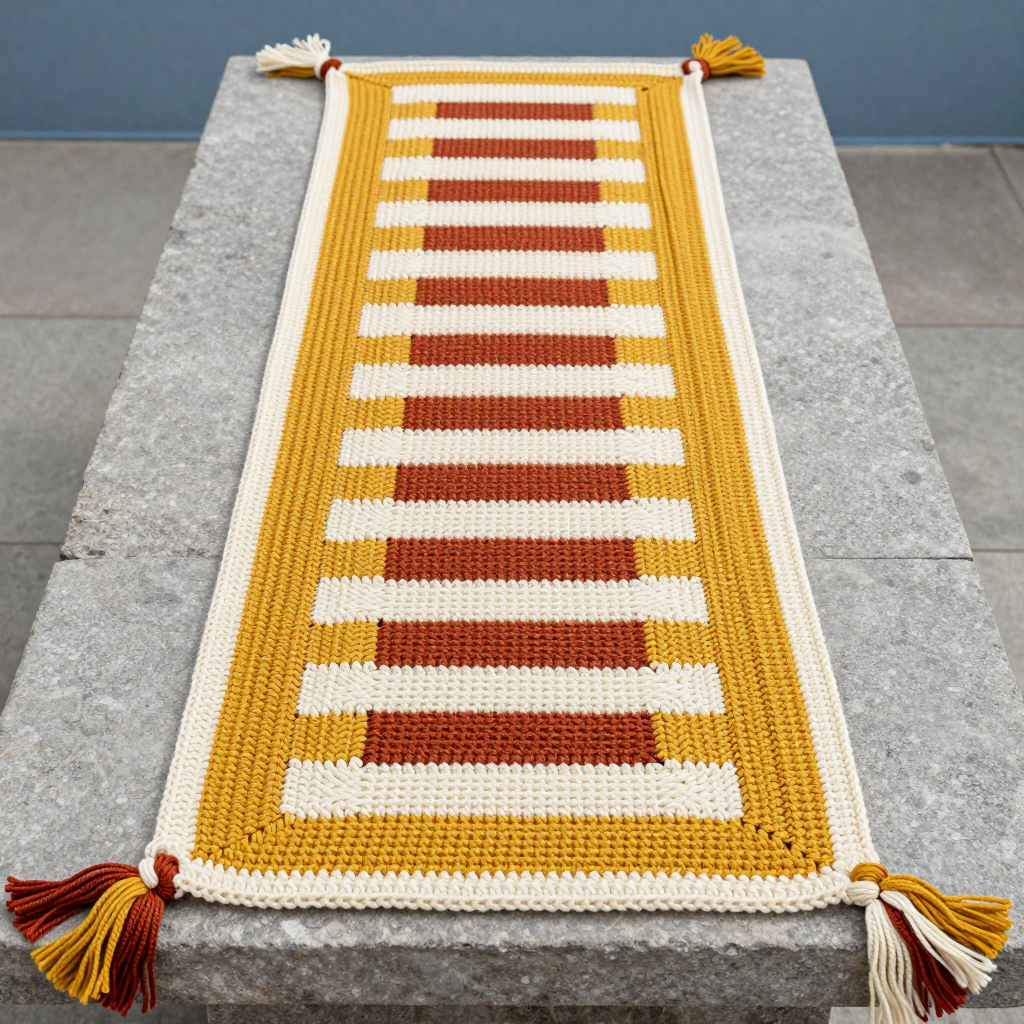
Victoriana Stripe Crochet Craft Apron Free Pattern

Introduction
The Victoriana Stripe Crochet Craft Apron is a simple, satisfying project for anyone who wants a handmade apron that feels as lovely as it looks. Worked as one flat rectangle in alternating bands of forest green and rust, it has a quiet Victorian romance about it that suits craft rooms, kitchens, and garden sheds alike. The half double crochet fabric is dense, even, and sturdy enough to protect your clothes while you paint, pot plants, or bake. With two roomy front pockets and a small hanging loop, it is beginner-friendly, quick to memorize, and made entirely from basic stitches.
Materials Needed
- Yarn: Worsted weight (category 4) cotton yarn — 300 yards forest green (A) and 200 yards rust (B). Cotton holds its shape and washes well, which makes it ideal for an apron.
- Hook: 4.0 mm (US G-6) crochet hook
- Notions: Tapestry needle for seaming and weaving in ends, scissors, and a few stitch markers or pins for pocket placement
- Finished size: 18 inches wide and 24 inches long, excluding the hanging loop
Abbreviations
- ch — chain: make a loop of yarn and pull it through the loop on your hook.
- hdc — half double crochet: yarn over, insert hook into the stitch, yarn over and pull up a loop, yarn over and pull through all three loops on the hook.
- sl st — slip stitch: insert hook into the stitch, yarn over, and pull the yarn straight through both the stitch and the loop on your hook.
- st(s) — stitch(es)
- A — forest green; B — rust
Gauge
16 stitches and 16 rows = 4 inches in half double crochet. Work a small swatch and measure the middle of it; if you have more stitches than 16 in 4 inches, go up a hook size, and if you have fewer, go down one.
Tips Before You Start
- Count your stitches at the end of every stripe. The body stays at 71 stitches throughout, so a quick count every 8 rows catches mistakes early.
- Change colors on the last yarn-over of the final stitch of a row so the new color begins cleanly at the start of the next row.
- Keep your turning chains relaxed. A tight ch 2 makes the side edges pull in and the apron will not lie flat.
- Because the stripes are wide, carry the unused color loosely up the side edge rather than cutting it each time — or cut and rejoin if you prefer tidy edges.
Step-by-Step Instructions
Apron Body (starting in A)
Setup: With A, ch 73.
Row 1: Hdc in the 3rd ch from hook and in each ch across (71 hdc).
Rows 2-8: Ch 2, turn, hdc in each st across (71 sts). Change to B.
Rows 9-16: Ch 2, turn, hdc in each st across (71 sts). Change to A.
Rows 17-24: Ch 2, turn, hdc in each st across (71 sts). Change to B.
Rows 25-32: Ch 2, turn, hdc in each st across (71 sts). Change to A.
Rows 33-40: Ch 2, turn, hdc in each st across (71 sts). Change to B.
Rows 41-48: Ch 2, turn, hdc in each st across (71 sts). Change to A.
Rows 49-56: Ch 2, turn, hdc in each st across (71 sts). Change to B.
Rows 57-64: Ch 2, turn, hdc in each st across (71 sts). Change to A.
Rows 65-72: Ch 2, turn, hdc in each st across (71 sts). Change to B.
Rows 73-80: Ch 2, turn, hdc in each st across (71 sts). Change to A.
Rows 81-88: Ch 2, turn, hdc in each st across (71 sts). Change to B.
Rows 89-96: Ch 2, turn, hdc in each st across (71 sts). Fasten off.
You now have 96 rows of 71 stitches — 12 stripes of 8 rows each, beginning and ending in rust.
Pocket (make 2, in A)
Setup: With A, ch 21.
Row 1: Hdc in the 3rd ch from hook and in each ch across (19 hdc).
Rows 2-12: Ch 2, turn, hdc in each st across (19 sts). Fasten off, leaving a long tail for sewing.
Hanging Loop (in B)
Setup: With B, ch 12.
Row 1: Sl st in the 2nd ch from hook and in each ch across (11 sl st). Fasten off, leaving a tail.
Assembly and Finishing
Fold the hanging loop in half to form a ring and sew both ends firmly to the top center of the apron. Pin each pocket to the front of the apron so they sit 2 inches in from the side edges and 4 inches up from the bottom edge, with 4 inches between them. Using the long tails and a tapestry needle, whipstitch around the sides and bottom of each pocket, keeping the top edge open. Weave in all ends on the wrong side. Block lightly by misting with water and pinning the apron flat to its finished measurements; let it dry completely before use.
Pro Tips and Variations
- Swap the stripe colors for a softer palette, such as sage and cream, or work narrower 4-row stripes for a busier look.
- Add a simple single crochet border around the whole apron for a crisper edge and a more finished drape.
- Make the pockets taller or add a contrasting top band in B so they stand out against the green body.