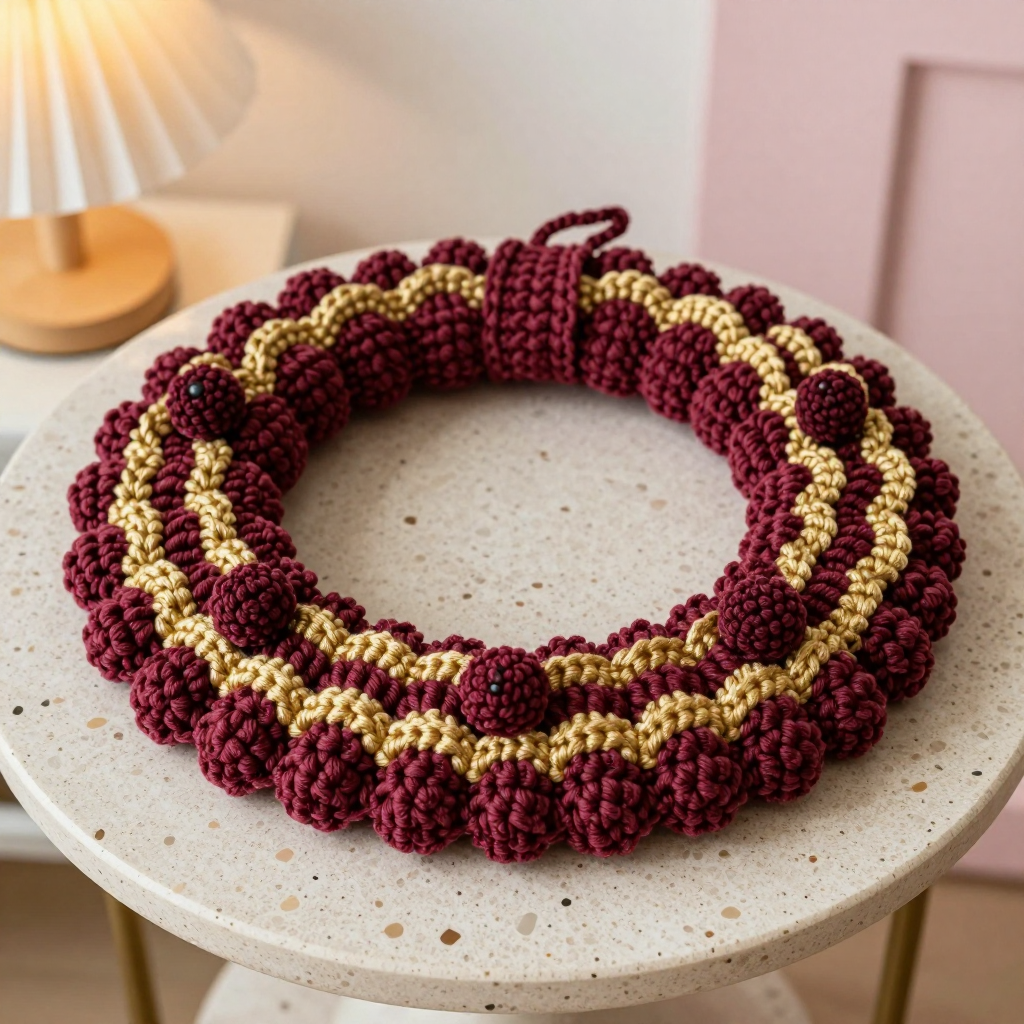
Snowy Cabin Eye Mask Free Crochet Pattern

Introduction
The Snowy Cabin Eye Mask is a sweet little project for anyone who loves cozy winter style and quick, satisfying makes. It is written for advanced beginners, so if you can single crochet, change colors, and work a simple decrease, you are ready to go. The mask is worked in soft worsted weight yarn with a cream base, a warm brown color-blocked band across the middle, and a tiny white snowflake sewn above it. It feels smooth and gentle against the skin, and the tapered lower edge sits comfortably across the cheeks while the ties hold it snug.
Materials Needed
- Yarn: Worsted weight (4) acrylic or cotton — cream (A) 50 yds, brown (B) 30 yds, white (C) 10 yds
- Hook: 5.0 mm (H/8)
- Notions: Tapestry needle, scissors, stitch marker (optional)
- Finished size: 7.5 inches wide x 3.5 inches tall, excluding ties
Abbreviations
- ch — chain
- sc — single crochet
- dc — double crochet
- sl st — slip stitch
- sc2tog — single crochet two stitches together (a decrease)
- sp / sps — space / spaces
- st / sts — stitch / stitches
- rep — repeat
Gauge
16 sts x 18 rows = 4 inches in single crochet. Work a small swatch in single crochet and measure it; if you have more stitches than 16 in 4 inches, go up a hook size, and if you have fewer, go down.
Tips Before You Start
- Change colors on the last yarn-over of the stitch before the new color begins, so the color blocks stay crisp.
- Keep your tension relaxed — a slightly looser single crochet makes the mask softer against the face.
- Count your stitches at the end of every row; the color-blocked rows are the easiest place to lose one.
- Leave a long tail on the snowflake so you can sew it down securely without adding extra yarn.
Step-by-Step Instructions
Mask Base (A)
Row 1: Ch 31, sc in 2nd ch from hook and each ch across (30 sts).
Rows 2-4: Ch 1, turn, sc in each st across (30 sts).
Row 5: Ch 1, turn, sc in first 10 sts, change to B, sc in next 10 sts, change to A, sc in last 10 sts (30 sts).
Rows 6-8: Repeat Row 5 color changes (30 sts).
Row 9: Ch 1, turn, sc in first 10 sts, change to B, sc in next 10 sts, change to A, sc in last 10 sts (30 sts).
Rows 10-12: Ch 1, turn, sc in each st across (30 sts).
Row 13: Ch 1, turn, sc2tog, sc in next 26 sts, sc2tog (28 sts).
Row 14: Ch 1, turn, sc2tog, sc in next 24 sts, sc2tog (26 sts).
Row 15: Ch 1, turn, sc2tog, sc in next 22 sts, sc2tog (24 sts). Fasten off.
Snowflake (C)
Rnd 1: Make a magic ring, ch 3, [dc, ch 2] 5 times into ring, join with sl st to top of ch-3 (6 dc, 6 ch-2 sps).
Rnd 2: Sl st into first ch-2 sp, ch 1, [sc, ch 3, sc] in same sp, *ch 1, [sc, ch 3, sc] in next ch-2 sp; rep from * around, join with sl st to first sc. Fasten off, leaving a long tail for sewing.
Ties (A) — Make 2
Row 1: Ch 40, sl st in 2nd ch from hook and each ch across (39 sl sts). Fasten off.
Assembly and Finishing
Sew the snowflake to the center top of the mask over the cream area, using the long tail and small, even stitches. Sew one tie to each side of the mask at Row 7 (the middle row) using whipstitch, checking that both ties sit level. Weave in all ends on the wrong side. Block lightly by misting with water and pinning the mask flat into shape; let it dry completely before wearing.
Pro Tips and Variations
- Swap the brown band for deep green or navy for a different cabin-in-the-woods look.
- Add a second tiny snowflake near one corner for a playful, scattered-snow effect.
- For a softer feel against the eyes, work the mask in cotton and add a thin fabric backing before sewing the ties.