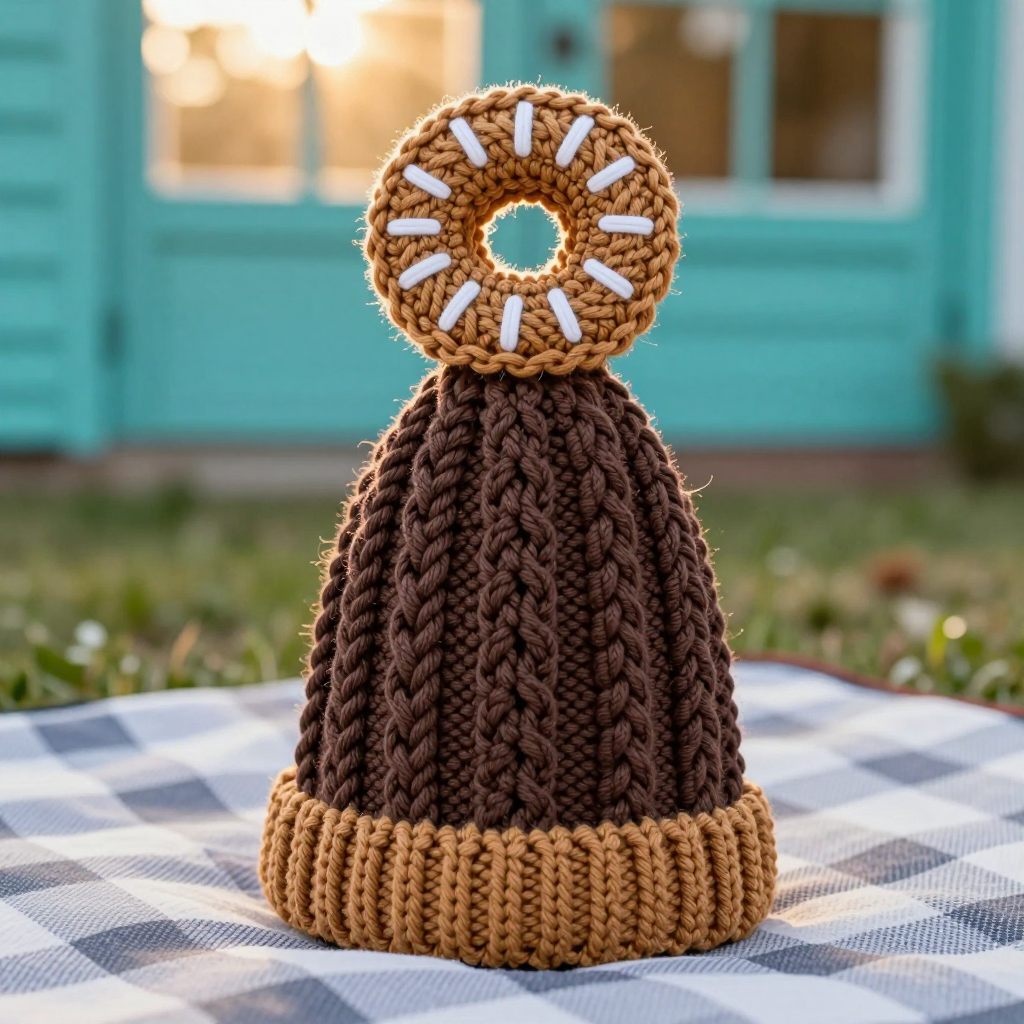
Rib-Stitched Hive Doll Knitting Free Pattern

Rib-Stitched Hive Doll Knitting Free Pattern
Introduction
This little hive doll is a sweet, squishy project for anyone who has knit in the round before and wants a quick, satisfying make. Worked in bold butter yellow and white stripes of 2x2 ribbing, it looks just like a plump beehive with soft vertical ridges running up its sides. A tiny knitted bee appliqué stitched to the front gives it a playful, handmade charm. At about 6 inches tall, it's perfect as a Christmas gift, a nursery decoration, or a cheerful shelf companion.
Materials Needed
- Yarn: Worsted weight acrylic — butter yellow (A) 100 yds, white (B) 80 yds, small amount black (C) 5 yds
- Needles: 4.0 mm (US 6) double-pointed needles (set of 4) or a circular needle for magic loop
- Notions: Stitch marker, tapestry needle, polyester fiberfill for stuffing, scissors
- Finished size: Approximately 6 inches tall and 5 inches wide
Abbreviations
- CO — cast on
- k — knit
- p — purl
- k2tog — knit two stitches together (one decrease)
- p2tog — purl two stitches together (one decrease)
- kfb — knit into the front and back of the same stitch (one increase)
- sts — stitches
- Rnd(s) — round(s)
Gauge
22 sts and 26 rows = 4 inches in 2x2 ribbing, unstretched. To check, knit a small swatch in [k2, p2] ribbing, let it rest flat without stretching, and measure a 4-inch section.
Tips Before You Start
- Measure gauge unstretched — ribbing pulls in, so stretching it will give you a false reading and a too-small hive.
- Carry your unused color loosely up the inside of the work when you change stripes, so the fabric doesn't pucker.
- Stuff the body firmly before closing the bottom, adding small handfuls at a time so the hive keeps its rounded shape.
- Use a removable marker at the start of each round so you never lose track of your stripe changes.
Step-by-Step Instructions
Body
With A, CO 48 sts. Join to work in the round, being careful not to twist.
Rnds 1-6: [k2, p2] to end (48 sts).
Change to B.
Rnds 7-12: [k2, p2] to end (48 sts).
Change to A.
Rnds 13-18: [k2, p2] to end (48 sts).
Change to B.
Rnds 19-24: [k2, p2] to end (48 sts).
Change to A.
Rnds 25-30: [k2, p2] to end (48 sts).
Change to B.
Rnds 31-36: [k2, p2] to end (48 sts).
Change to A.
Rnds 37-42: [k2, p2] to end (48 sts).
Shape top (continue in A):
Rnd 43: [k2tog, p2] to end (36 sts).
Rnd 44: [k1, p2] to end (36 sts).
Rnd 45: [k1, p2tog] to end (24 sts).
Rnd 46: [k1, p1] to end (24 sts).
Rnd 47: [k2tog] to end (12 sts).
Rnd 48: [k2tog] to end (6 sts).
Cut yarn, thread through remaining sts, and pull tight. Stuff the body firmly.
Bottom Shaping
Turn the body upside down. With A, pick up 48 sts around the cast-on edge.
Rnds 1-4: [k2, p2] to end (48 sts).
Rnd 5: [k2tog, p2] to end (36 sts).
Rnd 6: [k1, p2] to end (36 sts).
Rnd 7: [k1, p2tog] to end (24 sts).
Rnd 8: [k1, p1] to end (24 sts).
Rnd 9: [k2tog] to end (12 sts).
Rnd 10: [k2tog] to end (6 sts).
Cut yarn, thread through remaining sts, and pull tight.
Bee Appliqué
With B, CO 6 sts.
Row 1: purl (6 sts).
Row 2: kfb all sts (12 sts).
Row 3: purl (12 sts).
Row 4: [k1, kfb] to end (18 sts).
Row 5: purl (18 sts).
Row 6: knit (18 sts).
Row 7: purl (18 sts).
Change to C.
Row 8: knit (18 sts).
Row 9: purl (18 sts).
Change to B.
Row 10: knit (18 sts).
Row 11: purl (18 sts).
Row 12: [k2tog] to end (9 sts).
Row 13: purl (9 sts).
Row 14: [k2tog] to end (5 sts).
Cut yarn, thread through remaining sts, and pull tight.
Wings (make 2)
With B, CO 4 sts.
Row 1: knit (4 sts).
Row 2: purl (4 sts).
Row 3: [k2tog] to end (2 sts).
Cut yarn and thread through remaining sts.
Assembly and Finishing
Sew the bee appliqué to the front of the body, placing it slightly above the middle of the hive. Sew one wing to each side of the bee's upper body. Weave in all ends neatly on the inside of the work. Lightly steam-block the hive and bee pieces to smooth the ribbing and settle the stripes, then reshape gently by hand and let dry completely.
Pro Tips and Variations
- Swap the butter yellow for honey gold or pale pink for a different seasonal look.
- Add a small hanging loop at the top of the hive to turn it into an ornament.
- Make a set of three hives in graduated sizes for a charming shelf display.