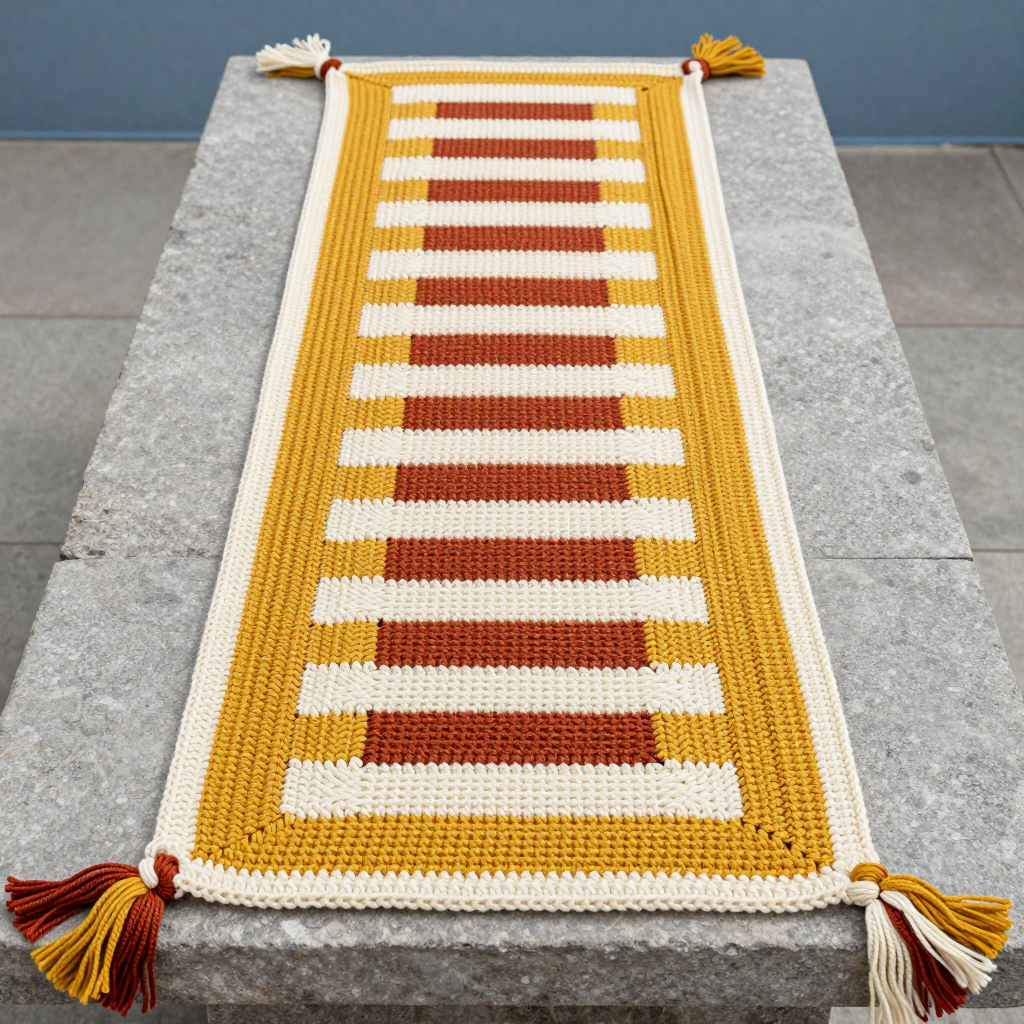
Lichen Block Stripe Bunting Crochet Free Pattern

Introduction
This cottage-style bunting is made from nine solid granny squares worked in two-row color blocks of moss and lichen, then joined along a straight crochet spine. It is a wonderful first garland project for anyone who can chain, double crochet, and single crochet, and it comes together quickly because each square is small and portable. The framed squares read as a clean Western stripe, so the garland looks just as at home over a mantel or doorway as it does on a porch beam. Worked in a linen-cotton blend, it has a soft, slightly rustic hand and a gentle drape that hangs beautifully without fuss.
Materials Needed
- Yarn: DK weight linen blend (approx. 50% linen, 50% cotton), 125 yd / 50 g per ball.
- Color A (moss): 2 balls, approx. 200 yd
- Color B (lichen): 2 balls, approx. 200 yd
- Color C (ecru spine): 1 ball, approx. 60 yd
- Hook: 3.5 mm (US E/4)
- Notions: Tapestry needle, stitch markers, blocking mat and pins, tape measure, scissors
- Finished size: Spine length 60 in / 152 cm; 9 squares (5 in A, 4 in B) each 3 in / 7.5 cm, spaced 3 in / 7.5 cm apart center-to-center; hanging tails 6 in / 15 cm each end
Abbreviations
- ch — chain
- sl st — slip stitch
- sc — single crochet
- dc — double crochet
- sp — space
- st(s) — stitch(es)
- RS — right side
- [ ] x3 — work the instructions in brackets three times
Gauge
Solid granny square motif = 3 in / 7.5 cm square after blocking; 4 dc = 1 in / 2.5 cm; 2 dc rows = 1 in / 2.5 cm. Work one square and block it before starting the rest — if it measures larger or smaller than 3 in / 7.5 cm, change hook size until it matches.
Tips Before You Start
- Block every square to exactly 3 in / 7.5 cm before joining; consistent squares are what keep the spine spacing even.
- Keep your chain-3 turning chains loose so the corner spaces of each square stay open and easy to join through.
- Count the 178 spine stitches before joining — the spacing of 3 in / 7.5 cm center-to-center depends on it.
- Lay the squares out in the A, B, A, B order on a flat surface before you begin joining so you never have to undo a join.
Step-by-Step Instructions
Squares (make 9: 5 in A, 4 in B)
Set-up: With A or B, ch 4, sl st to form ring.
R1: Ch 3 (counts as dc), 2 dc in ring, [ch 2, 3 dc in ring] x3, ch 2, sl st to top of ch-3 (12 dc, 4 ch-2 sps).
R2: Ch 3, dc in each of next 2 dc, *(2 dc, ch 2, 2 dc) in ch-2 sp, dc in each of next 3 dc; rep from * around, ending sl st to top of ch-3 (28 dc, 4 ch-2 sps).
R3: Ch 3, dc in each dc to next ch-2 sp, *(2 dc, ch 2, 2 dc) in ch-2 sp, dc in each dc to next ch-2 sp; rep from * around, sl st to top of ch-3 (44 dc, 4 ch-2 sps).
Fasten off, weave ends. Block all squares to 3 in / 7.5 cm. Arrange alternately A, B, A, B, A, B, A, B, A.
Spine
Set-up: With C, ch 181.
R1: Dc in 4th ch from hook and in each ch across (178 dc).
R2: Ch 1, turn, sc in each dc across (178 sc). Do not fasten off.
Joining
With RS of squares facing, pin each square centered under the spine so the top corner ch-2 sp aligns with spine R2, spacing squares 3 in / 7.5 cm apart center-to-center, with the first and last square 6 in / 15 cm from the spine ends.
Join row: Working along R2 of the spine, sc through spine sc and the top ch-2 sp of each square at each join point, and sc in each spine sc between squares (178 sc). Fasten off.
Hanging Tails
At each spine end, join C with sl st in corner, ch 30, sl st back along ch 30 to form a loop, fasten off. Repeat at the other end.
Edging (optional)
With C, sc evenly along both long edges of the spine, working 3 sc in each end corner. Fasten off, weave all ends. Block spine lightly.
Assembly and Finishing
All seaming is done during the join row, so there is no separate sewing step. Weave in every end on the wrong side, threading tails through a few stitches before trimming. Wet block the squares to 3 in / 7.5 cm and let them dry fully before joining; after joining, mist the spine lightly, pin it straight, and let it dry flat so the garland hangs without curling.
Pro Tips and Variations
- Swap the two-row color blocks for a single color per square for a quieter, more tonal garland.
- Add a small tassel or bead to the bottom corner of each square for extra cottage charm.
- Shorten or lengthen the spine in multiples of 6 ch to fit a smaller doorway or a longer porch beam.