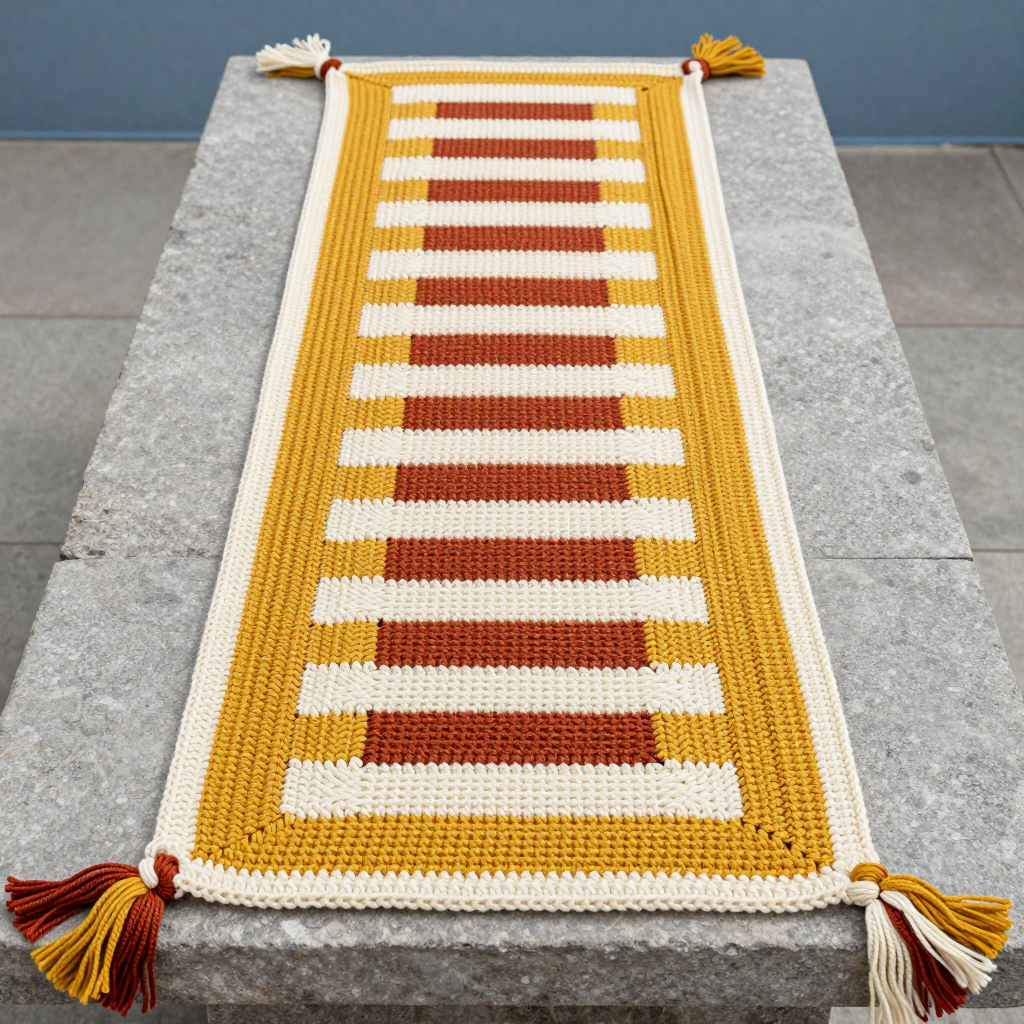
Groovy Bobble Pot Cuff: Free Crochet Pattern

Introduction
Meet the Groovy Bobble Pot Cuff, a quick and cheerful way to dress up your houseplants. This beginner-friendly pattern is worked flat in simple single crochet stripes, then seamed into a tube that slips right over a small pot. The star of the show is a row of twelve oversized bobbles in neon pink, sitting about two-thirds of the way up like a retro daisy chain. The finished cuff is smooth and dense, with just that one row of raised texture to pop against the bright yellow, pink, and orange stripes. It is a perfect weekend project for anyone who wants a space-age splash of color on a windowsill.
Materials Needed
- Yarn: Worsted weight acrylic, approximately 100 yards total. Color A (neon yellow): 40 yards. Color B (neon pink): 30 yards. Color C (neon orange): 30 yards.
- Hook: 5.0 mm (H-8) crochet hook.
- Notions: Tapestry needle for seaming and weaving in ends, scissors, and a stitch marker (optional).
- Finished size: Approximately 6 inches tall and 12 inches in circumference, fitting pots up to 4 inches in diameter.
Abbreviations
- ch: chain
- sc: single crochet
- st(s): stitch(es)
- sl st: slip stitch
- yo: yarn over
- bobble: a cluster of 4 partial double crochets joined at the top (full instructions below)
- [ ]: repeat the instructions inside the brackets the number of times stated
Gauge
16 stitches and 16 rows = 4 inches in single crochet. To check, work a small swatch in single crochet and measure a 4-inch section; adjust your hook size if you have more or fewer stitches than 16 per 4 inches.
Tips Before You Start
- Keep your turning chains loose so the side edges stay straight and easy to seam later.
- Change colors on the last stitch of the row before the new color begins, so the color change sits neatly at the edge.
- Bobbles are worked on the wrong side of the fabric and pop out on the right side, so do not worry if Row 17 looks bumpy while you work it.
- Count your stitches after every color change; each row must have 48 stitches to keep the stripes even.
Step-by-Step Instructions
Pot Cuff (worked flat in rows)
Set-up: With A, ch 49.
Row 1: Sc in 2nd ch from hook and each ch across (48 sc).
Rows 2-4: Ch 1, turn, sc in each st across (48 sc).
Change to B.
Rows 5-8: Ch 1, turn, sc in each st across (48 sc).
Change to C.
Rows 9-12: Ch 1, turn, sc in each st across (48 sc).
Change to A.
Rows 13-16: Ch 1, turn, sc in each st across (48 sc).
Change to B.
Row 17 (bobble row): Ch 1, turn, sc in first 3 sts, [bobble in next st, sc in next 3 sts] 11 times, sc in last st (12 bobbles, 36 sc).
Rows 18-20: Ch 1, turn, sc in each st across (48 sc).
Change to C.
Rows 21-24: Ch 1, turn, sc in each st across (48 sc).
Fasten off.
Bobble (make 12, worked as you go on Row 17)
Bobble: With B, *yo, insert hook in specified st, yo, pull up a loop, yo, pull through 2 loops* 4 times, yo, pull through all 5 loops on hook.
Assembly
Fold the rectangle in half with right sides together, matching the short ends. Whipstitch or sl st seam through both layers to form a tube. Fasten off.
Edging (optional)
Top edge: With right side facing, join C with sl st to top edge, ch 1, sc evenly around top edge, join with sl st to first sc. Fasten off.
Bottom edge: Repeat the same edging around the bottom edge if desired.
Assembly and Finishing
Seam the short ends together as described above, working through both layers for a sturdy join. Weave in all ends on the wrong side of the cuff, using the tapestry needle to hide them within the stripes. Block lightly by misting with water and shaping the tube flat; let it dry fully before slipping it over your pot. The cuff should sit snugly around the pot with the bobble row facing outward.
Pro Tips and Variations
- Swap the neon palette for pastel or earth tones to match your decor while keeping the same stripe sequence.
- Make the cuff taller by adding extra single crochet rows in any color before or after the bobble row.
- Work the edging in Color B instead of C for a contrasting finish around the top and bottom.