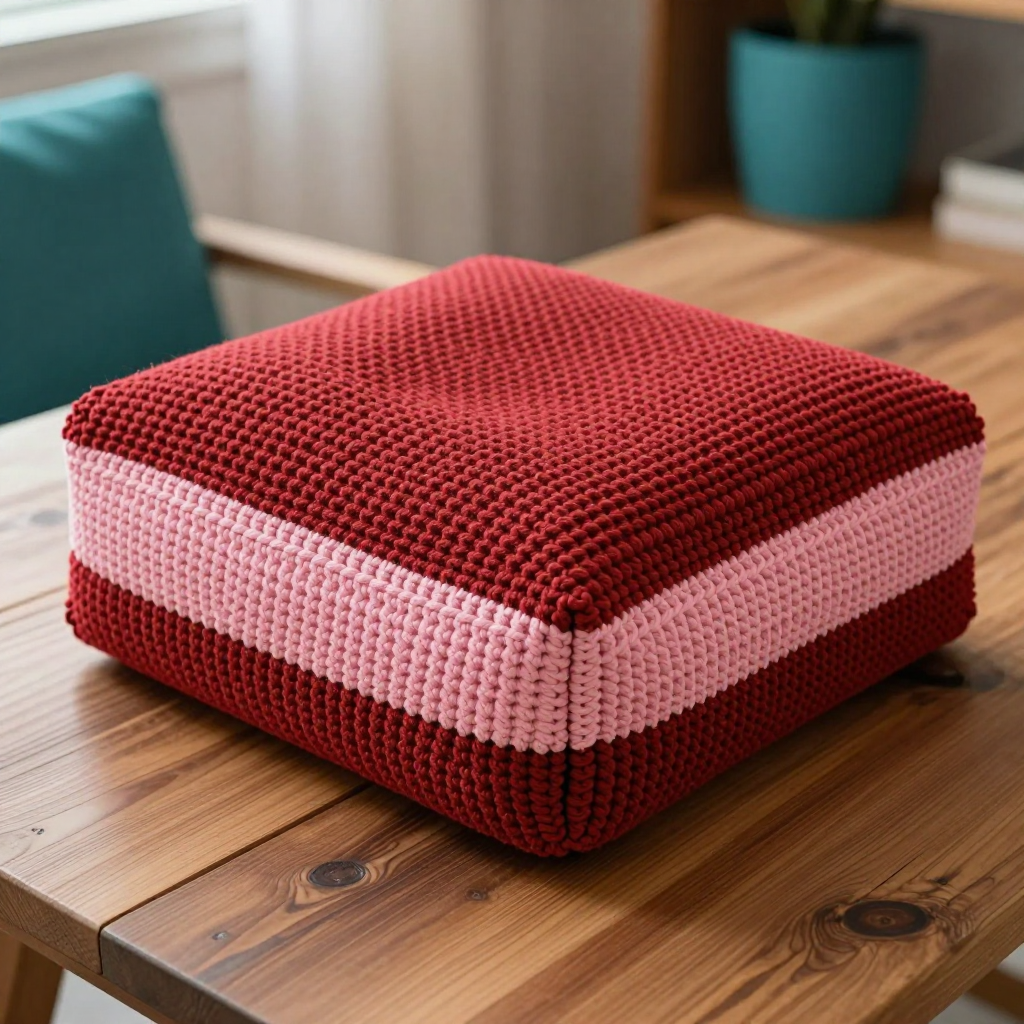
Grid Motif Scarfigan Free Crochet Pattern
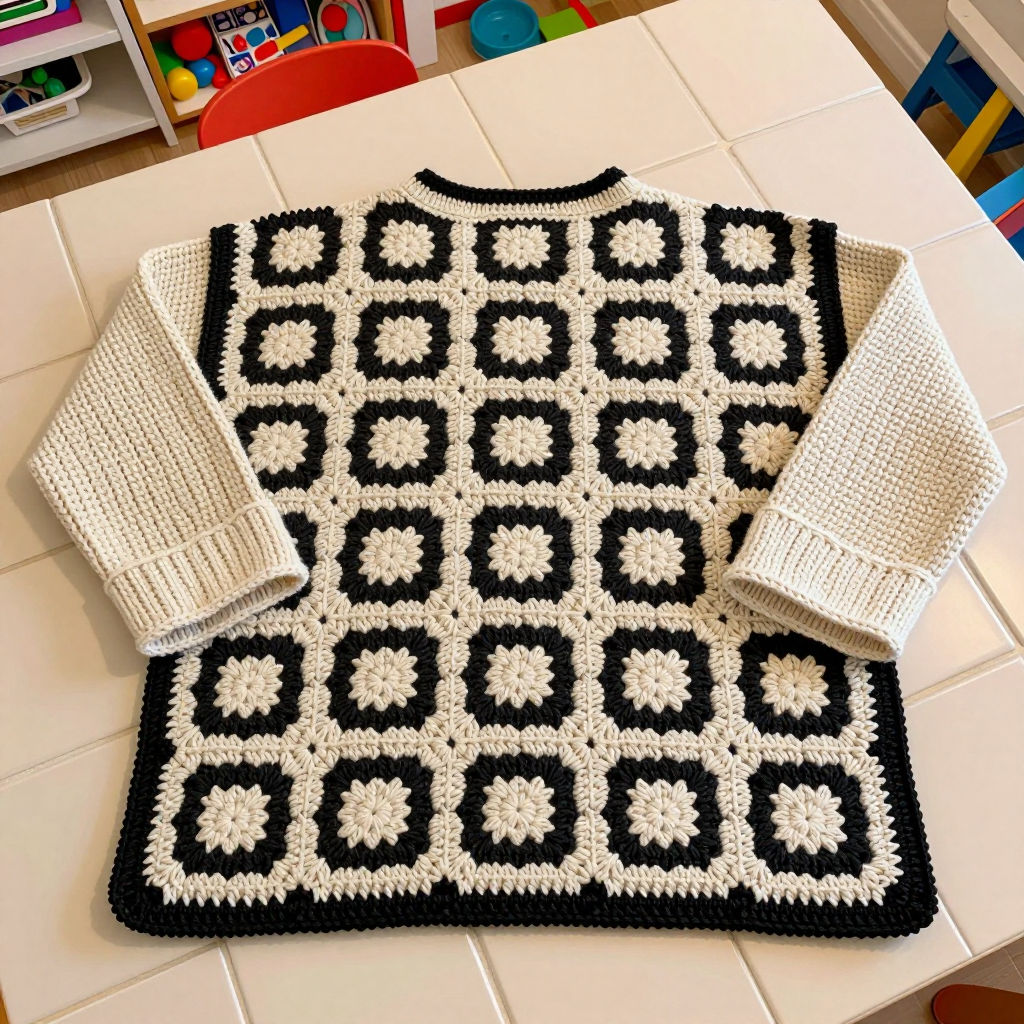
Grid Motif Scarfigan Free Crochet Pattern
Introduction
This Grid Motif Scarfigan is the perfect project for anyone who loves the look of patchwork but wants something simple to crochet. It's made from 30 solid granny squares joined in a light-and-dark checkerboard, so you get a bold, minimalist grid effect without any complicated colorwork. The finished piece is a cozy, rectangular wrap with ribbed cuffs that turn it into a wearable scarf-with-sleeves you can throw on over anything. It's beginner-friendly, works up square by square, and feels soft and drapey around your shoulders.
Materials Needed
- Yarn: DK weight (3), acrylic or wool blend. Color A (light): 600 yards. Color B (dark): 600 yards.
- Hook: 4.5 mm (US 7).
- Notions: Tapestry needle, stitch markers, scissors, blocking mats and pins.
- Finished size: 20" (51 cm) wide x 60" (152 cm) long before seaming; fits adult.
Abbreviations
- ch – chain
- sl st – slip stitch
- sc – single crochet
- dc – double crochet
- sp – space
- st(s) – stitch(es)
- RS – right side
- rep – repeat
Gauge
One solid granny square measures 4" (10 cm) square after blocking. Crochet one square and block it to check your gauge before starting the full set.
Tips Before You Start
- Block every square to exactly 4" before joining so the grid lines up evenly.
- Keep your tension consistent between colors; acrylic and wool blends can behave slightly differently.
- Lay out all 30 squares in the checkerboard before seaming so you can adjust the color placement.
- Use a stitch marker at the center of each short edge to help measure the 9" armhole opening accurately.
Step-by-Step Instructions
Solid Granny Square (make 30 — 15 in A, 15 in B)
Rnd 1: With A or B, ch 4, join with sl st to form ring. Ch 3 (counts as dc), 2 dc in ring, [ch 2, 3 dc in ring] 3 times, ch 2, join with sl st to top of ch-3 (12 dc, 4 ch-2 sps).
Rnd 2: Ch 3, dc in same st, dc in next 2 dc, *(2 dc, ch 2, 2 dc) in ch-2 sp, dc in next 3 dc; rep from * around, join (28 dc, 4 ch-2 sps).
Rnd 3: Ch 3, dc in same st, dc in next 4 dc, *(2 dc, ch 2, 2 dc) in ch-2 sp, dc in next 7 dc; rep from * around, join (44 dc, 4 ch-2 sps).
Rnd 4: Ch 3, dc in same st, dc in next 6 dc, *(2 dc, ch 2, 2 dc) in ch-2 sp, dc in next 11 dc; rep from * around, join (60 dc, 4 ch-2 sps). Fasten off. Block each square to 4" (10 cm).
Assembly
Arrange squares in a 5x6 grid (5 wide, 6 tall), alternating colors in a checkerboard. With RS facing, join squares with sl st through back loops only, working in rows first, then columns.
Seam sides: Fold the rectangle in half widthwise to form a loop, RS together. Join the short edges (20" sides) from the outer edge toward the center, leaving a 9" (23 cm) opening for armholes on each side. Seam the remaining 11" from center to opposite edge. Turn RS out.
Cuffs (make 2)
Rnd 1: Join A at armhole edge, sc evenly around armhole (approx 36 sc).
Rnds 2-6: Sc in each sc around (36 sts). Fasten off. Repeat for the other armhole.
Edging
Bottom edge: Join B at bottom edge, sc evenly around entire bottom edge. Fasten off.
Top edge: Join B at top edge, sc evenly around entire top edge. Fasten off.
Assembly and Finishing
Seam all squares as described, then work the cuffs and edging. Weave in all ends securely on the wrong side. Block the finished scarfigan lightly, pinning the cuffs and edges flat, and allow it to dry completely before wearing.
Pro Tips and Variations
- Swap the checkerboard for a gradient by using three or more colors in a planned sequence.
- Add a second round of sc edging in color A for a contrasting border.
- Make a longer version by adding an extra row of squares for a more oversized, coat-like fit.