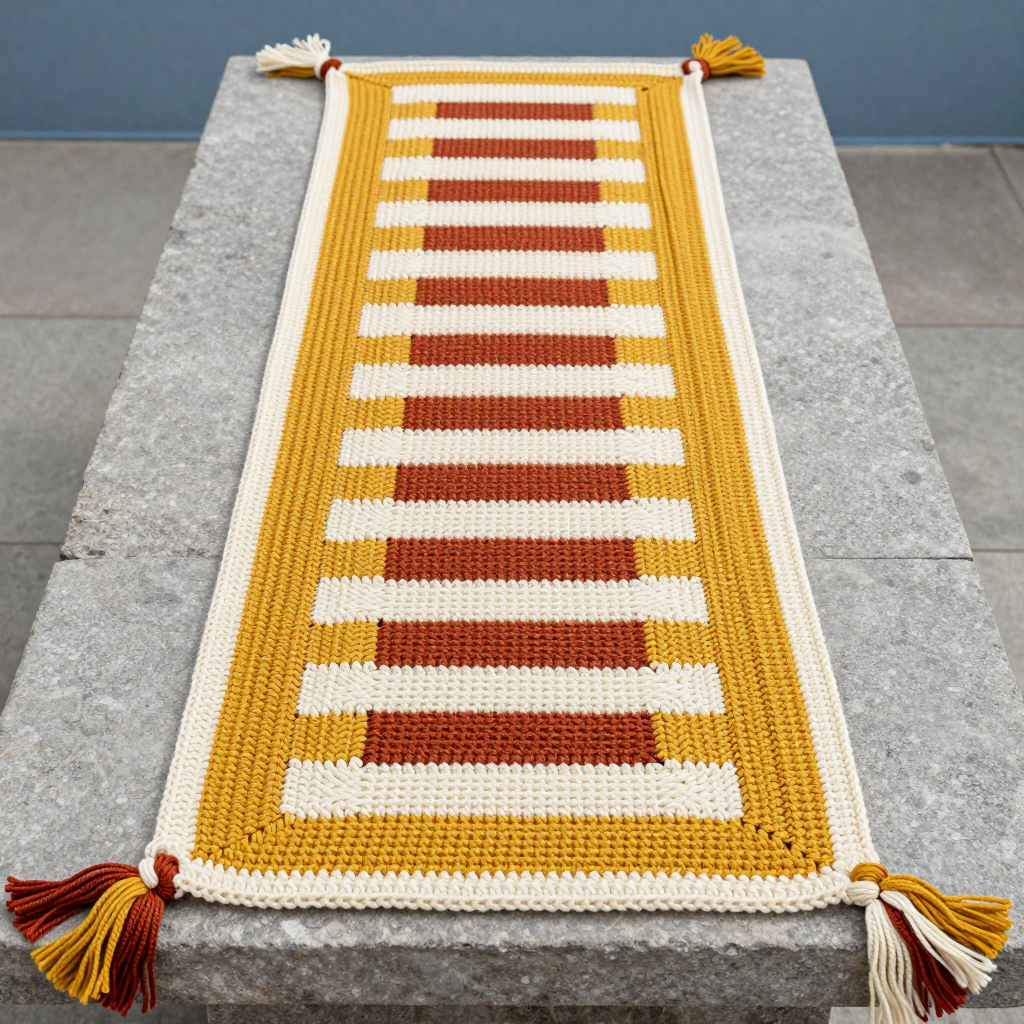
Earthy Two-Tone Tunisian Crochet Cape Free Pattern

Earthy Two-Tone Tunisian Crochet Cape Free Pattern
Introduction
This long, rectangular Tunisian crochet wrap is the kind of piece you reach for all year round. It is worked in simple stitch with horizontal peach and apricot stripes, then folded over the shoulders and secured with two soft crocheted ties at the chest. The earthy linen-cotton blend gives it a breathable, gently weighted drape that feels cool against the skin and softens with every wear. It is a lovely first Tunisian project for a teen or an adventurous beginner, because the whole cape is one straight panel and the shaping is done with a simple fold and two short seams.
Materials Needed
- Yarn: Worsted weight (CYC 4) linen blend, approx 50% linen / 50% cotton. Color A (peach): 350 yd. Color B (apricot): 350 yd.
- Hook: 6.0 mm (US J-10) Tunisian crochet hook with cable (the cable must hold at least 71 loops).
- Notions: Stitch markers, tapestry needle, tape measure, scissors, blocking mats and rust-proof pins.
- Finished size: Rectangle 20 inches wide x 60 inches long; folded cape 20 inches long x 30 inches wide at the shoulders, with an 8-inch center neck opening.
Abbreviations
- ch — chain: yarn over and pull through the loop on your hook.
- st(s) — stitch(es).
- yo — yarn over: wrap the yarn around your hook.
- sc — single crochet: insert hook in stitch, yarn over, pull up a loop, yarn over, pull through both loops.
- RS — right side: the side of the fabric with the vertical bars.
- rep — repeat.
- forward pass — the row where you pick up loops onto the hook.
- return pass — the row where you work the loops back off the hook.
Gauge
14 sts and 16 rows = 4 inches (10 cm) in Tunisian simple stitch. Work a small swatch, block it gently, and measure across the middle; if you have more stitches than 14 per 4 inches, go up a hook size, and if you have fewer, go down.
Tips Before You Start
- Count your loops at the end of every forward pass — you should always have 71. A missed loop shows up as a slanted edge later.
- Keep the return pass loops loose and even; tight return passes make the panel narrow and stiff.
- Change colors at the end of the return pass so the new stripe starts cleanly on the forward pass.
- Write down your stripe count as you go — eight stripes of each color, eight times total, is easy to lose track of.
Step-by-Step Instructions
Panel
Set-up: With Color A, ch 71.
Row 1 (RS): Forward pass: insert hook in 2nd ch from hook, yo, pull up loop, [insert hook in next ch, yo, pull up loop] across (71 loops on hook). Return pass: yo, draw through 1 loop, [yo, draw through 2 loops] across (1 loop remains).
Row 2: Skip first vertical bar, [insert hook under next vertical bar, yo, pull up loop] across to last st, insert hook under last st, yo, pull up loop (71 loops). Return pass as Row 1.
Rows 3-8: Rep Row 2 (8 rows total in Color A).
Change to Color B.
Rows 9-16: Rep Row 2 (8 rows in Color B).
Stripe repeat: Rep the last 16 rows (8 rows A, 8 rows B) 7 more times, ending with 8 rows in Color B — 128 rows total. Fasten off.
Ties (make 2, Color A)
Set-up: Ch 61.
Row 1: Sc in 2nd ch from hook and in each ch across (60 sc). Fasten off, leaving a 10-inch tail for attaching.
Assembly and Finishing
Block the panel to 20 x 60 inches and let it dry completely. Fold the panel in half widthwise to form the cape. Mark the center of the folded edge for the neck opening. Sew the shoulder seams from the outer edges toward the center, leaving 8 inches open at the center for the neck. Attach one tie at each side of the front opening at chest level, about 6 inches down from the shoulder seam, using the yarn tails and a tapestry needle. Weave in all ends on the wrong side, then give the seams a light steam or spritz and reshape the neck opening while damp.
Pro Tips and Variations
- Swap the two colors for a tonal cream and oatmeal pair for a quieter, more neutral look.
- Add a single crochet border around the neck opening for a tidier edge that holds its shape.
- Make the ties longer (ch 81) if you like a bow that hangs lower, or add a small button to one tie for a different closure.