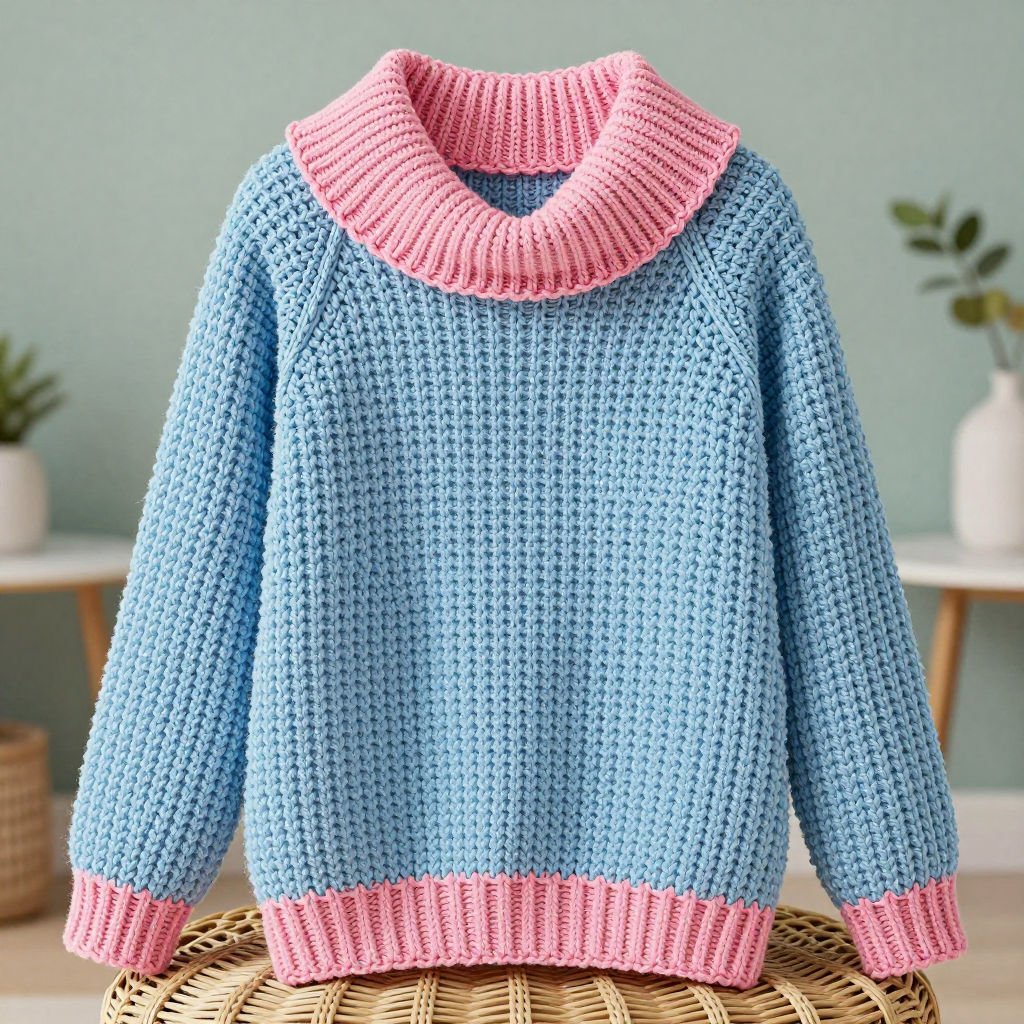
Chevron Cropped Sweater Free Crochet Pattern

Introduction
This chevron cropped sweater is a love letter to the 1970s: a straight, boxy body that ends right at the waist, slightly flared sleeves, and narrow mustard and brown stripes that ripple across a zigzag single crochet texture. It is written for crocheters who are comfortable with single crochet and ready to add simple increases and decreases to their toolkit, and every row is spelled out so you are never guessing. The fabric is soft and light in sport weight yarn, warm enough for cool evenings but airy enough to layer. Wear it with high-waisted jeans for the full retro look, or over a dress for something a little softer.
Materials Needed
- Yarn: Sport weight (2) yarn, cotton or acrylic. Approximately 800 (900, 1000, 1100, 1200) yards total, split 60% mustard (A) and 40% brown (B).
- Hook: 3.5 mm (E-4) crochet hook, or the size needed to match gauge.
- Notions: Stitch markers, tapestry needle, tape measure, scissors.
- Finished size: S (M, L, XL, 2XL). Finished bust 34 (38, 42, 46, 50) inches. Length 16 (16.5, 17, 17.5, 18) inches. Sleeve length 18 inches. Upper arm circumference 12 (13, 14, 15, 16) inches, flaring to 16 (17, 18, 19, 20) inches at the cuff.
Abbreviations
- ch – chain
- sc – single crochet
- sc3tog – single crochet 3 stitches together (a decrease that turns 3 stitches into 1)
- inc – increase: work 2 single crochet into the same stitch
- dec – decrease: work 2 stitches together as one
- st(s) – stitch(es)
- sl st – slip stitch
- RS / WS – right side / wrong side
- rep – repeat
- Rnd – round
Gauge
20 stitches and 10 rows = 4 inches (10 cm) in the chevron pattern. Work a small swatch in pattern, block it lightly, and measure across the middle of the swatch; if you have more stitches than 20, go up a hook size, and if you have fewer, go down.
Tips Before You Start
- Count your zigzags. Each repeat is 12 stitches plus 2 edge stitches, so every row should end with the same stitch count. Check the count at the end of every pattern row before moving on.
- Keep the stripes tidy. Change color on the last stitch of the row before the new color begins, and carry the unused color loosely up the side edge rather than cutting it each time.
- Mark the neck edge. Place a stitch marker where the front neck shaping begins so your decreases stay lined up on both shoulders.
- Work the plain rows loosely. Row 2 of the pattern is all single crochet; keep it relaxed so the chevron ridges do not pull tight and shrink your finished width.
Step-by-Step Instructions
Chevron Pattern (multiple of 12 sts + 2)
Row 1 (RS): Ch 1, sc in first st, *sc in next 5 sts, sc3tog, sc in next 5 sts, 3 sc in next st; rep from * to last st, sc in last st.
Row 2: Ch 1, sc in each st across.
Repeat Rows 1–2 for pattern. Color sequence: 4 rows A, 2 rows B, repeating throughout.
Back
Row 1: With A, ch 86 (98, 110, 122, 134). Work Row 1 of chevron pattern (86 (98, 110, 122, 134) sts).
Rows 2–40 (41, 42, 43, 44): Work in chevron pattern following the color sequence, ending with a WS row, until piece measures 16 (16.5, 17, 17.5, 18) inches. Fasten off.
Front
Rows 1–30 (31, 32, 33, 34): Work same as back until piece measures 12 (12.5, 13, 13.5, 14) inches, ending with a WS row.
Next row (RS) – right shoulder: Work in pattern across first 32 (38, 44, 50, 56) sts, turn. Leave remaining sts unworked.
Next 3 rows: Dec 1 st at neck edge every row (29 (35, 41, 47, 53) sts).
Following rows: Work even in pattern until piece measures same as back. Fasten off.
Left shoulder: With RS facing, skip center 22 sts, join yarn and work remaining 32 (38, 44, 50, 56) sts to end, mirroring the neck shaping above. Fasten off.
Sleeves (make 2)
Row 1: With A, ch 62 (68, 74, 80, 86). Work Row 1 of chevron pattern (62 (68, 74, 80, 86) sts).
Rows 2–4: Work in pattern, increasing 1 st at each end of Row 4 (64 (70, 76, 82, 88) sts).
Rows 5–24: Continue in pattern, increasing 1 st at each end every 4th row 5 more times (74 (80, 86, 92, 98) sts). After 2 inches, work 2 rows in B, then continue the color sequence.
Rows 25–48: Continue in pattern, increasing 1 st at each end every 6th row 4 times, working increased sts into pattern (82 (88, 94, 100, 106) sts).
Following rows: Work even until sleeve measures 18 inches. Fasten off.
Assembly
Sew shoulder seams. Sew sleeves into armholes. Sew side and sleeve seams.
Neck Edging
Rnd 1: With RS facing, join A at back neck. Sc evenly around neck edge, sl st to first sc.
Rnd 2: Ch 1, sc in each sc around, sl st to first sc. Fasten off.
Assembly and Finishing
Weave in all ends on the wrong side, working them through a few stitches in each direction so they do not work loose. Block the sweater to the finished measurements: mist lightly with water, pin the body flat to the bust and length measurements, and pin the sleeves to the upper arm and cuff widths. Let it dry completely before wearing. Give the neck edging a gentle press with your fingers so it lies flat without stretching.
Pro Tips and Variations
- Change the palette: Swap mustard and brown for cream and rust, or navy and pale blue, to make the chevron read differently while keeping the same stripe rhythm.
- Lengthen the body: Add rows evenly to both front and back before the neck shaping for a hip-length version; add the same number of rows to each piece so the seams match.
- Add a simple cuff: Work 2 rounds of sc around each sleeve opening in B for a neat finish that echoes the neck edging.