Saffron Star Stitch Dolman Pullover – Free Crochet Pattern

Introduction
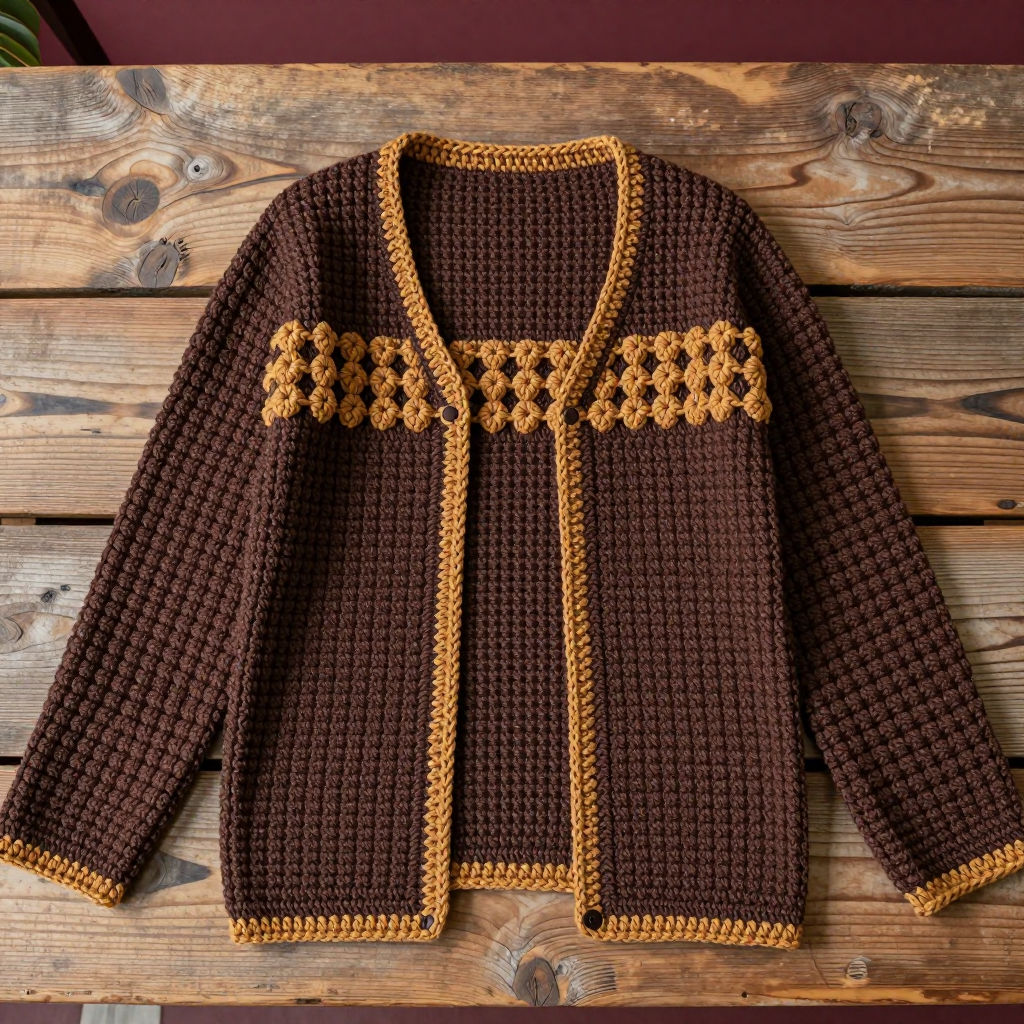
The Saffron Star Stitch Dolman Pullover is a cozy, beginner-friendly women's sweater made from one wide rectangle of crochet, folded and seamed into a soft, boxy pullover with relaxed dolman sleeves. It's perfect for anyone who has mastered single crochet and wants to try a textured stitch without worrying about shaping, increases, or complicated construction. The all-over star stitch gives the fabric a dense, squishy texture with tiny star-shaped clusters, and the warm saffron body is broken by a broad nutmeg band across the shoulders for a touch of fall color blocking. The result looks like a boutique knit but feels like a favorite blanket, with a simple boat neck and clean single crochet edgings that keep it easy to wear and easy to finish.
Materials Needed
- Yarn: Fingering weight (category 1) 100% wool, approximately 1200 yards total — Saffron (MC) 900 yards, Nutmeg (CC) 300 yards.
- Hook: 3.5 mm (US E/4) crochet hook, or size needed to match gauge.
- Notions: Tapestry needle for seaming and weaving in ends, stitch markers, measuring tape, blocking mats and rust-proof pins.
- Finished size: Bust circumference 48 inches (122 cm) relaxed; length 24 inches (61 cm) from shoulder to hem; sleeve length from center back to cuff 28 inches (71 cm). Fits women's sizes M–L with 6–8 inches of positive ease.
Abbreviations
- ch — chain: make a loop of yarn and pull it through the loop on your hook.
- sc — single crochet: insert hook in stitch, yarn over, pull up a loop, yarn over, pull through both loops.
- st(s) — stitch(es): one completed stitch in the fabric.
- sl st — slip stitch: insert hook in stitch, yarn over, pull through both the stitch and the loop on your hook.
- star stitch — a textured cluster stitch worked over several stitches to form small star shapes (worked as described in Row 1 below).
- MC — main color (Saffron).
- CC — contrast color (Nutmeg).
- Rnd — round: a row worked in a continuous circle.
Gauge
24 stitches and 12 rows = 4 inches (10 cm) in star stitch pattern. To check, crochet a small swatch in star stitch, block it lightly, and measure a 4-inch section in the middle — adjust your hook size if your stitch count is off.
Tips Before You Start
- Star stitch is dense, so work a generous gauge swatch and block it before measuring — the fabric relaxes noticeably after blocking.
- Keep your turning chains loose; tight edges make the rectangle pull in and distort the finished bust measurement.
- Change colors on the last pull-through of the final stitch of a row so the new color begins cleanly at the start of the next row.
- Mark the halfway point of your starting chain with a stitch marker so you can check that your rectangle stays square as you go.
Step-by-Step Instructions
Rectangle (MC and CC)
Row 1: With MC, ch 146. Work star stitch across the chain (72 stars).
Rows 2–36: Star stitch across, keeping 72 stars each row.
Change to CC.
Rows 37–48: Star stitch across (72 stars).
Change to MC.
Rows 49–84: Star stitch across (72 stars). Fasten off.
Block the rectangle to 48 inches wide by 24 inches long.
Assembly
Fold the rectangle in half widthwise with right sides together. Seam the side edges from the bottom up to 8 inches from the top, leaving an 8-inch opening at the top for the neck. Seam the sleeve edges from the armhole to the cuff, leaving an 8-inch opening for the cuff. Turn the pullover right side out.
Neck Edging
Rnd 1: With MC, join yarn at the neck edge. Sc evenly around the neck opening, join with sl st.
Rnd 2: Sc in each sc around, join with sl st. Fasten off.
Cuff Edging (make 2)
Rnd 1: With MC, join yarn at the cuff edge. Sc evenly around the cuff opening, join with sl st.
Rnd 2: Sc in each sc around, join with sl st. Fasten off. Repeat for the second cuff.
Hem Edging
Rnd 1: With MC, join yarn at the hem. Sc evenly around the hem, join with sl st.
Rnd 2: Sc in each sc around, join with sl st. Fasten off.
Assembly and Finishing
Seam the side and sleeve edges with a simple whipstitch or mattress stitch using MC and a tapestry needle, keeping the seams flat and even. Weave in all ends on the wrong side, working them through several stitches so they don't work loose. Block the finished pullover gently to the measurements above — mist it, pin the neck, cuffs, and hem into shape, and let it dry fully before wearing.
Pro Tips and Variations
- For a lighter spring version, swap the wool for a fingering weight cotton blend and shorten the body by a few rows.
- Try a wider nutmeg band or a second contrast stripe near the hem for a bolder color-blocked look.
- Add a round of reverse single crochet instead of the second sc round on the neck, cuffs, and hem for a slightly more polished, structured edge.