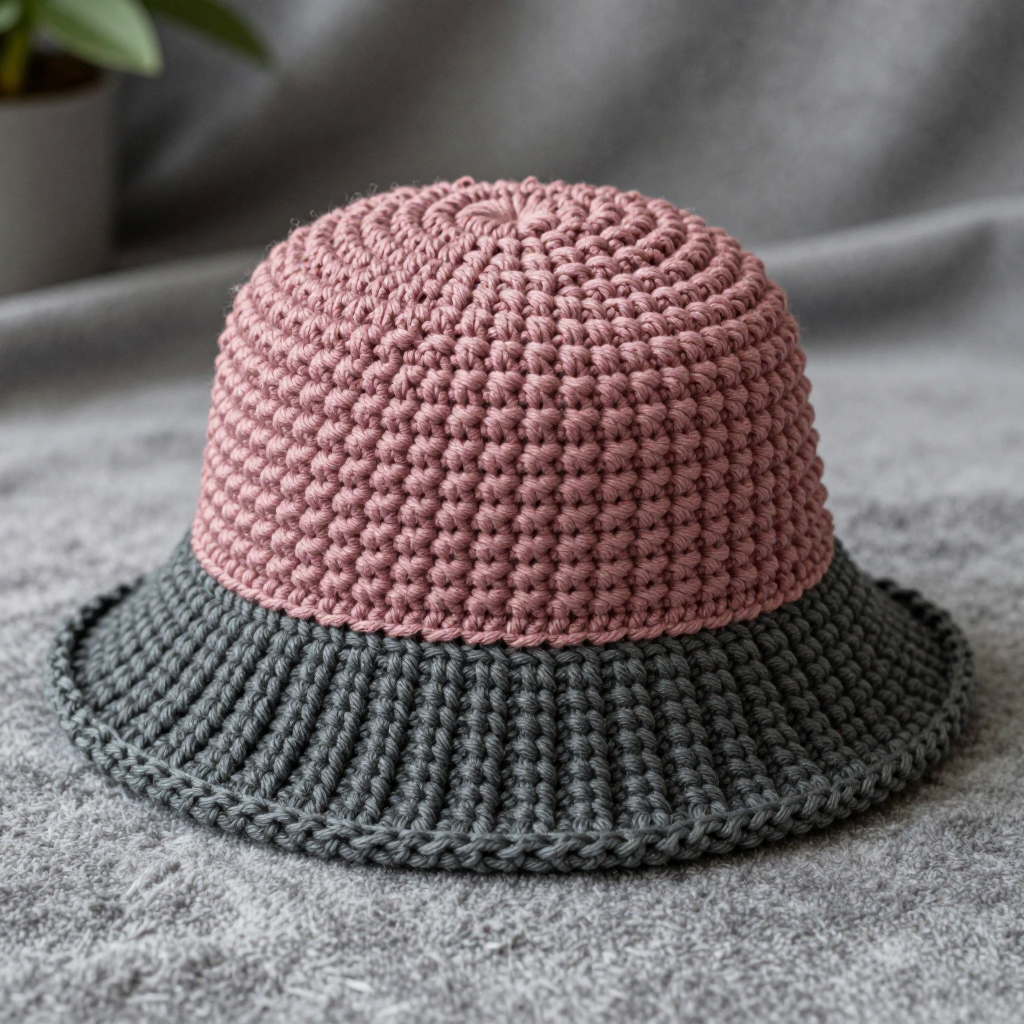
Cabin Cuffed Beanie with Leaf Motif - Free Crochet Pattern

Introduction
The Cabin Cuffed Beanie is the hat you reach for all winter long. It's worked in soft, squishy bulky yarn with a deep folded cuff that keeps your ears toasty, and a tiny forest-green leaf applique gives it that cozy mountain-cabin feel. The ribbed texture comes from simple single crochet worked through the back loop only, so it looks impressive but stays beginner-friendly. Whether you're new to crochet or a seasoned maker, this unisex beanie works up quickly and fits heads 21–23 inches around.
Materials Needed
- Yarn: Bulky weight (5) yarn. Main color (MC): approximately 150 yards in oatmeal. Contrasting color (CC): approximately 20 yards in forest green. Sample used Lion Brand Wool-Ease Thick & Quick (80% acrylic, 20% wool, 106 yards/170g) in Oatmeal (MC) and Grass (CC).
- Hooks: 6.5 mm (K/10.5) for the hat body, 5.5 mm (I/9) for the cuff and leaf.
- Notions: Tapestry needle, scissors, stitch marker (optional), measuring tape.
- Finished size: Circumference 20 inches (51 cm) unstretched, to fit head circumference 21–23 inches (53–58 cm). Height 10 inches (25 cm) unfolded, 8 inches (20 cm) with the cuff folded.
Abbreviations
- ch — chain: make a loop of yarn and pull it through the loop on your hook.
- sc — single crochet: insert hook, yarn over, pull up a loop, yarn over, pull through both loops.
- hdc — half double crochet: yarn over, insert hook, pull up a loop, yarn over, pull through all three loops.
- dc — double crochet: yarn over, insert hook, pull up a loop, yarn over and pull through two loops, yarn over and pull through the last two loops.
- sl st — slip stitch: insert hook, yarn over, pull through both the stitch and the loop on your hook.
- blo — back loop only: work into the loop of the stitch farthest from you.
- st(s) — stitch(es).
- rnd(s) — round(s).
Gauge
With the 6.5 mm hook in the ribbed pattern: 12 stitches x 12 rows = 4 x 4 inches (10 x 10 cm). Work a small swatch in single crochet through the back loop only and measure it before starting; if your swatch is larger, go down a hook size, and if smaller, go up.
Tips Before You Start
- Always work your single crochet into the back loop only for the hat body — that's what creates the stretchy ribbed texture.
- Keep your tension relaxed and even; bulky yarn can feel tight, and a stiff fabric won't stretch to fit comfortably.
- Count your stitches at the end of every few rows — the body should stay at 60 stitches throughout.
- Don't skip the gauge swatch. Because this hat has no crown shaping, the fit depends entirely on getting the rectangle the right size.
Step-by-Step Instructions
Hat Body (MC)
With the 6.5 mm hook and MC, ch 61.
Row 1: sc in 2nd ch from hook and each ch across (60 sts).
Row 2: ch 1, turn, sc in blo of each st across (60 sts).
Rows 3–40: repeat Row 2 (60 sts). Do not fasten off.
Joining the Tube
Fold the piece in half lengthwise, matching the short ends. Working through both layers, sl st across to join, forming a tube. Fasten off. Turn right side out.
Cuff (MC)
With the 5.5 mm hook and MC, join yarn at the bottom edge of the hat.
Rnd 1: ch 1, sc evenly around bottom edge (60 sts).
Rnds 2–6: ch 1, sc in each st around (60 sts). Fasten off. Fold the cuff up.
Leaf (CC)
With the 5.5 mm hook and CC, ch 8.
Row 1: sc in 2nd ch from hook, hdc in next, dc in next 3, hdc in next, sc in last (7 sts).
Row 2: ch 1, turn, sc in first st, hdc in next, dc in next 3, hdc in next, sc in last (7 sts).
Row 3: ch 1, turn, sc in each st across (7 sts). Fasten off, leaving a long tail for sewing.
Assembly and Finishing
Sew the leaf to the front of the hat, centered on the folded cuff, using the photo as a guide and the long tail you left. Weave in all ends securely on the inside of the hat. Block lightly if desired by misting with water and shaping flat to dry — avoid stretching the ribbing.
Pro Tips and Variations
- Swap the leaf for a small crocheted snowflake or a tiny pom-pom for a different seasonal look.
- Make it a two-tone beanie by working the last few body rows in CC before joining the tube.
- For a slouchier fit, add 4–6 extra rows to the body before joining; the cuff will still fold neatly.