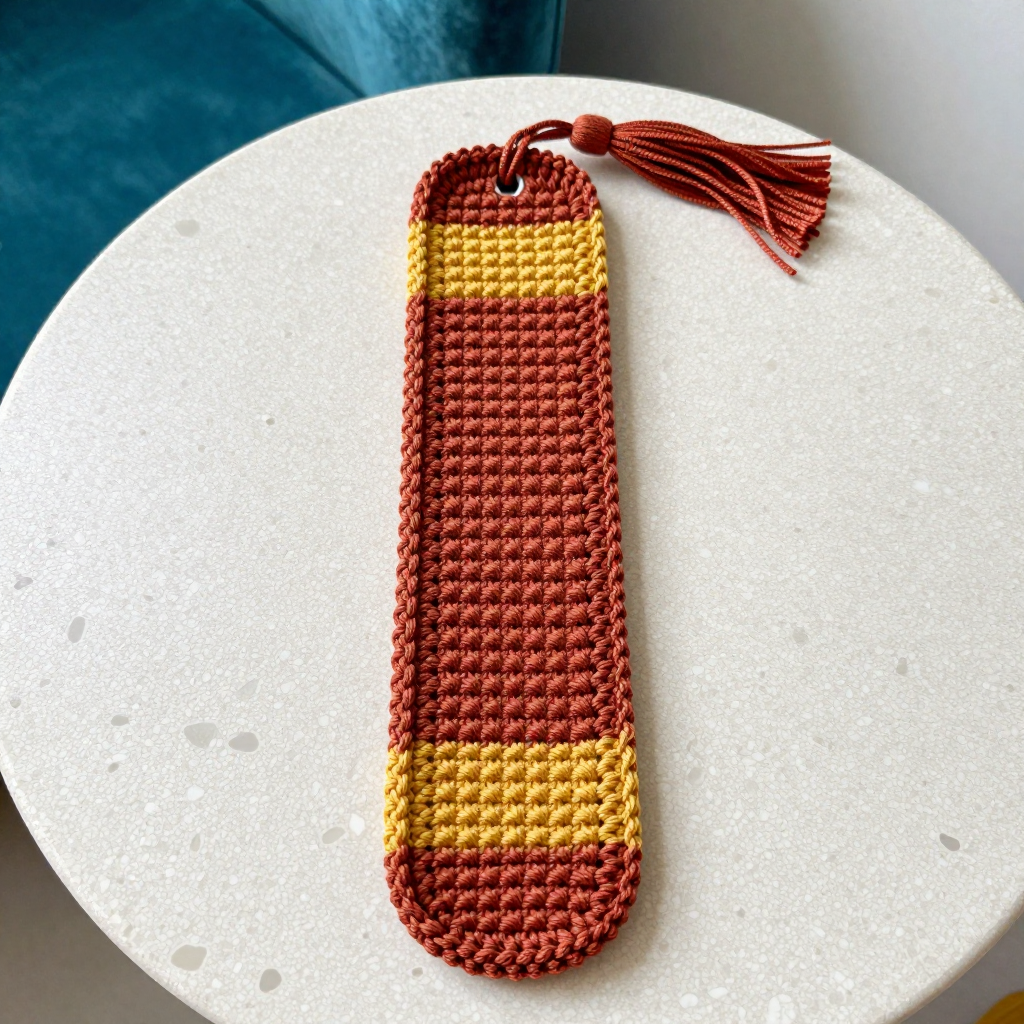
Terracotta Twist Tunisian Crochet Ear Warmer Free Pattern

Introduction
The Terracotta Twist Ear Warmer is a love letter to the 1970s, worked in warm terracotta and mustard stripes that look like sunset on a clay pot. It is designed for anyone who wants a cozy, breathable headband for gym days, dog walks, or cold-weather hobbies like knitting and reading by the window. The dense, slightly ridged texture of Tunisian knit stitch gives it a soft, squishy feel that hugs your ears without bulk, and the twisted-overlap join at the back reads like a soft knot. Because it is worked as one flat rectangle and seamed at the end, it is a wonderfully gentle introduction to Tunisian crochet that you can finish in a weekend.
Materials Needed
- Yarn: Worsted (#4) recycled cotton, 100% recycled cotton, approx. 180 yd (165 m) per 100 g skein.
- Color A (terracotta): 1 skein (approx. 75 yd / 69 m used)
- Color B (mustard): 1 skein (approx. 45 yd / 41 m used)
- Hook: 6.0 mm (US J-10) Tunisian crochet hook with cable, 24 in (60 cm) or longer; 5.5 mm (US I-9) standard hook for edging
- Notions: Tapestry needle, stitch markers, scissors, steamer or iron with steam setting, measuring tape
- Finished size: Flat rectangle before seaming: 20 in (51 cm) long x 3.5 in (9 cm) wide. Finished twisted headband: approx. 18 in (46 cm) circumference unstretched, 3.5 in (9 cm) wide; fits head circumference 20-23 in (51-58 cm)
Abbreviations
- ch — chain
- yo — yarn over
- st(s) — stitch(es)
- sl st — slip stitch
- sc — single crochet
- TKS — Tunisian knit stitch: insert hook under the vertical bar of the next stitch, yarn over, pull up a loop
- RS — right side
Gauge
16 sts x 14 rows = 4 in (10 cm) in Tunisian knit stitch, measured relaxed after steaming; row gauge is counted per forward/return pass pair. To check it, work a small swatch in TKS, steam it lightly, let it dry, and measure the center of the fabric without stretching.
Tips Before You Start
- Keep your return-pass loops loose and even; tight loops make the rectangle narrow and stiff, and Tunisian fabric has little stretch to forgive it.
- Change colors on the last loop of the return pass so the new color begins cleanly on the next forward pass.
- Count your 15 loops at the end of every forward pass — it is the fastest way to catch a dropped vertical bar.
- Steam-block the rectangle before seaming; it relaxes the cotton and makes the overlap lie flat and even.
Step-by-Step Instructions
Rectangle (worked flat in Tunisian knit stitch; A = terracotta, B = mustard)
With A, ch 15.
Foundation row (return pass): Skip first ch, yo, pull up a loop in each ch across (15 loops on hook); yo, pull through 1 loop, [yo, pull through 2 loops] across (1 loop remains).
Row 1 forward: Skip first vertical bar, TKS in each vertical bar across to last st, TKS in last st (15 loops); return pass as foundation (15 sts).
Rows 2-8: Repeat Row 1 (15 sts). Change to B at start of Row 9.
Rows 9-14: Repeat Row 1 in B (15 sts). Change to A at start of Row 15.
Rows 15-22: Repeat Row 1 in A (15 sts). Change to B at start of Row 23.
Rows 23-28: Repeat Row 1 in B (15 sts). Change to A at start of Row 29.
Rows 29-36: Repeat Row 1 in A (15 sts). Change to B at start of Row 37.
Rows 37-42: Repeat Row 1 in B (15 sts). Change to A at start of Row 43.
Rows 43-50: Repeat Row 1 in A (15 sts).
Bind off: Skip first vertical bar, sl st in each vertical bar across (15 sl sts). Fasten off, leaving a 24 in (60 cm) tail for seaming.
Edging (with 5.5 mm / US I-9 hook)
Join A at one short-end corner.
Rnd 1: Sc evenly around the entire rectangle, working 1 sc in each row-end along the long edges (50 sc per long edge), 1 sc in each st along the short edges (15 sc per short edge), and 3 sc in each corner; join with sl st to first sc. Fasten off A.
Rnd 2: Join B. Sc in each sc around, 3 sc in each corner sc; join with sl st to first sc. Fasten off B, weave in ends.
Assembly and Finishing
Block the rectangle to 20 x 3.5 in (51 x 9 cm) and let it dry completely. With RS facing, bring the short ends together to form a ring, overlapping the ends by 2 in (5 cm). Twist the right end once toward you before overlapping the left end, so the seam sits at center back and the overlap reads as a soft knot. Whipstitch the overlapped edges together with the A tail, catching both layers, about 1/4 in (6 mm) from the raw edges. Secure the tail and weave it in. Steam lightly — do not press flat — and let the piece dry fully. Try it on; if it feels snug, block it 1 in (2.5 cm) wider.
Pro Tips and Variations
- Swap the stripes for a single color, or use three colors in narrower bands for a bolder retro look.
- Work the rectangle a few rows longer for a slouchier band, or a few stitches narrower for a sportier fit.
- Add a third edging round in a contrast color, or work the edging in one color for a cleaner, more modern finish.