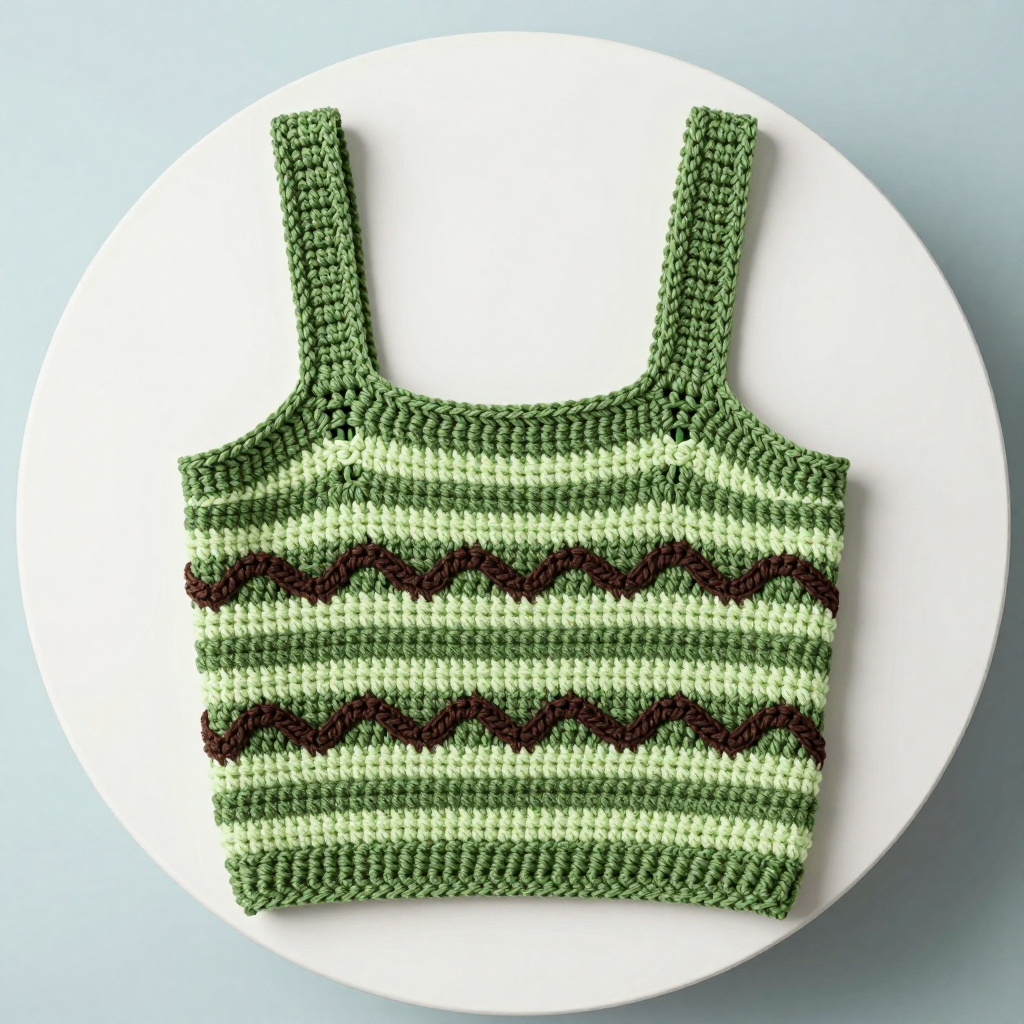
Oatmeal Chevron Tank and Short Set Free Crochet Pattern

Oatmeal Chevron Tank and Short Set Free Crochet Pattern
Introduction
This two-piece set is made for teens who want something soft, easy to wear, and just a little bit retro. The tank is a simple straight tube worked in alpine stitch, so it has beautiful texture without any waist shaping, and the shorts are built from one flat rectangle that folds and seams into shape. The oatmeal ground keeps everything calm and neutral, while a single bold charcoal chevron stripe band across the chest and near the hems gives the set that mid-century modern feel. It is cozy enough for lounging and cute enough to wear out, and the whole set uses only basic stitches plus front post double crochet.
Materials Needed
- Yarn: Worsted weight acrylic. Main color (MC) oatmeal: 400 yd. Contrast color (CC) charcoal: 150 yd.
- Hooks: 5.0 mm (H-8) for the main fabric, 4.0 mm (G-6) for neckband, armhole edging, waistband, drawstring, and leg edging.
- Notions: Tapestry needle, stitch markers, measuring tape, scissors.
- Finished size: Tank fits teen 32–34 inch bust, 18 inches long. Shorts fit 26–28 inch waist, 36 inch hip, 3 inch inseam.
Abbreviations
- ch — chain
- sl st — slip stitch
- sc — single crochet
- dc — double crochet
- fpdc — front post double crochet (work the dc around the post of the stitch below, from the front, instead of into the top of the stitch)
- dec — decrease (work two stitches together into one)
- rep — repeat
- st(s) — stitch(es)
- R / Rnd — row / round
- MC / CC — main color / contrast color
Gauge
16 sts x 12 rows = 4 inches in alpine stitch with the 5.0 mm hook. Work a small swatch in the alpine stitch pattern and measure the middle of it; if you have more stitches than 16 in 4 inches, go up a hook size, and if you have fewer, go down.
Tips Before You Start
- The alpine stitch is just alternating fpdc and dc, so keep your tension even and always work the fpdc around the post of the dc from the row below, not into its top.
- When you join the tank ring, check carefully that the chain is not twisted before you slip stitch closed — a twist here cannot be fixed later.
- Use a stitch marker at the start of each round and at the color changes so you always know where the charcoal band begins and ends.
- Keep your color changes neat by working the last stitch of the old color and the joining slip stitch in the new color.
Step-by-Step Instructions
Tank (worked in rounds from the bottom up)
With 5.0 mm hook and MC, ch 128, join with sl st to first ch to form a ring, being careful not to twist.
R1: Ch 1, sc in each ch around, join with sl st to first sc (128 sc).
R2: Ch 2 (counts as first dc), dc in next st, *[fpdc in next st, dc in next st] rep from * around, join with sl st to top of ch-2 (128 sts).
R3: Ch 2, dc in next st, *[fpdc in next st, dc in next st] rep from * around, join with sl st to top of ch-2 (128 sts).
R4–R23: Rep R3 (128 sts). Piece should measure about 8 inches from the beginning; end after a rep.
Change to CC.
Next R: Ch 1, sc in each st around, join with sl st to first sc (128 sc).
Next R: Ch 2, dc in next st, *[fpdc in next st, dc in next st] rep from * around, join with sl st to top of ch-2 (128 sts).
Next R: Rep last R once more (128 sts).
Change to MC.
Next R: Work in alpine st (as R3) (128 sts).
R–R: Rep the alpine st round until the piece measures 16 inches from the beginning, ending after a rep (128 sts).
Tank: Armholes and Neck Shaping
Next R: Ch 1, sc in first 64 sts, turn (64 sc).
Next R: Ch 2, dc in next st, *[fpdc in next st, dc in next st] rep from * across, turn (64 sts).
Next R: Ch 2, dc in next st, *[fpdc in next st, dc in next st] rep from * across, turn (64 sts).
Next R: Rep last R until the armhole measures 2 inches, ending after a rep (64 sts). Fasten off.
Join MC to the first st of the remaining 64 sts and work the same as for the first armhole. Fasten off.
Tank: Shoulder Seams
With right sides facing, sew the shoulder seams 1 inch in from each armhole edge, leaving the center 12 inches open for the neck.
Tank: Neckband (4.0 mm hook)
With 4.0 mm hook and MC, join yarn at the shoulder seam, ch 1, sc evenly around the neck opening, join with sl st to first sc.
Next R: Ch 1, *sc in next st, sc in next st, dec over next 2 sts, rep from * around, join with sl st to first sc. Fasten off.
Tank: Armhole Edging (4.0 mm hook)
With 4.0 mm hook and MC, join yarn at the underarm, ch 1, sc evenly around the armhole, join with sl st to first sc. Fasten off. Rep for the other armhole.
Shorts (worked flat as a rectangle, then seamed)
With 5.0 mm hook and MC, ch 72.
R1: Sc in second ch from hook and in each ch across, turn (71 sc).
R2: Ch 2 (counts as first dc), dc in next st, *[fpdc in next st, dc in next st] rep from * across, turn (71 sts).
R3: Ch 2, dc in next st, *[fpdc in next st, dc in next st] rep from * across, turn (71 sts).
R4–R23: Rep R3 (71 sts). Piece should measure about 8 inches from the beginning; end after a rep.
Change to CC.
Next R: Ch 1, sc in each st across, turn (71 sc).
Next R: Ch 2, dc in next st, *[fpdc in next st, dc in next st] rep from * across, turn (71 sts).
Next R: Rep last R once more (71 sts).
Change to MC.
Next R: Work in alpine st (as R3) (71 sts).
Next R: Rep the alpine st row until the piece measures 12 inches from the beginning, ending after a rep (71 sts). Fasten off.
Shorts: Assembly
Fold the rectangle in half with right sides together, matching the short ends. Sew the side seams, leaving a 3 inch opening at the bottom of each side for the leg openings. Sew the crotch seam: with right sides together, sew the 3 inch edges at the bottom center together.
Shorts: Waistband (4.0 mm hook)
With 4.0 mm hook and MC, join yarn at the side seam, ch 1, sc evenly around the waist opening, join with sl st to first sc.
Next R: Ch 1, *sc in next st, sc in next st, dec over next 2 sts, rep from * around, join with sl st to first sc. Fasten off.
Shorts: Drawstring (4.0 mm hook)
With 4.0 mm hook and CC, ch 100. Fasten off. Weave the chain through the waistband sc round and tie it in front.
Shorts: Leg Edging (4.0 mm hook)
With 4.0 mm hook and MC, join yarn at the leg opening, ch 1, sc evenly around, join with sl st to first sc. Fasten off. Rep for the other leg.
Assembly and Finishing
Weave in all ends on the wrong side with the tapestry needle, working each end back and forth through a few stitches so it stays secure. Gently steam block the tank and shorts to the finished measurements, pressing the seams flat and letting the alpine stitch texture relax; do not press hard with the iron directly on the fabric. Check that the drawstring moves freely through the waistband and that both leg openings and armholes lie flat.
Pro Tips and Variations
- Swap the charcoal band for a soft mustard or dusty rose to change the whole mood of the set while keeping the same construction.
- Add a second chevron band near the top of the tank for a bolder mid-century look, working one sc round plus two alpine rounds in CC.
- For a longer top, add extra alpine rounds before the armhole split, and for longer shorts, add rows before the charcoal band.