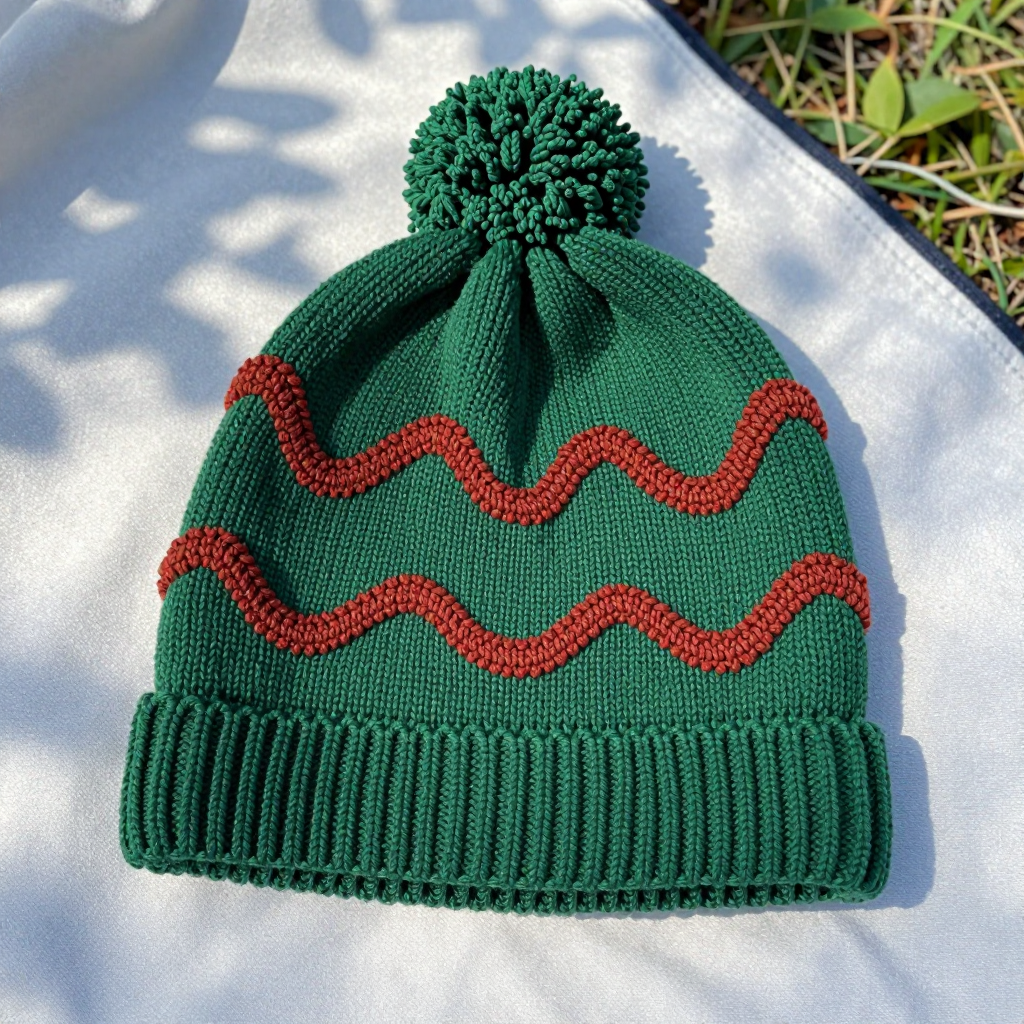
Colorblock Shell Stitch Dog Beanie with Ear Slits - Free Crochet Pattern

Introduction
This colorblock shell stitch dog beanie is the perfect finishing touch for a big pup who loves to dress up for Halloween walks. Worked in thick worsted cotton, it has a bold forest green and rust split that makes the textured shell stitch really pop. The folded brim keeps it snug, while the ear slits and buttoned flaps make sure it stays put on even the wiggliest dog. It looks handmade in the best way and feels soft, sturdy, and warm against the ears.
Materials Needed
- Yarn: Worsted weight cotton yarn, approx. 200-250 yards total: 120 yards forest green (A), 80 yards rust (B).
- Hook: 5.0 mm (H-8) crochet hook.
- Notions: Tapestry needle, stitch markers, 2 buttons (approx. 3/4 inch / 2 cm), scissors.
- Finished size: Circumference 22 inches (56 cm), height 8 inches (20 cm) unfolded. Fits large dogs with a head circumference of 20-24 inches.
Abbreviations
- ch: chain
- sl st: slip stitch
- sc: single crochet
- dc: double crochet
- sc2tog: single crochet two stitches together (a decrease)
- st(s): stitch(es)
- beg: beginning
- rep: repeat
Gauge
16 stitches and 8 rows in shell pattern = 4 inches (10 cm). Work a small swatch in shell stitch and measure a 4-inch section to check before starting.
Tips Before You Start
- Count your shells as you go. Each round should have 29 shells, and a quick count at the end of every round saves you from ripping back later.
- When you join the starting chain into a ring, check carefully that it is not twisted, since a twist here cannot be fixed later.
- Try the hat on your dog (or measure against their head) before sewing the flaps, so you can position the ear slits exactly over the ears.
- Cotton has little stretch, so keep your shell stitches relaxed and even rather than tight.
Step-by-Step Instructions
Hat Body (worked in rounds)
With A, ch 88, join with sl st to first ch to form a ring, being careful not to twist.
R1: Ch 1, sc in each ch around, join with sl st to first sc (88 sc).
R2: Ch 3 (counts as first dc), 2 dc in same st, skip 2 sts, *3 dc in next st, skip 2 sts; rep from * around, join with sl st to top of beg ch-3 (29 shells).
R3: Sl st to center dc of first shell, ch 3, 2 dc in same st, *3 dc in center dc of next shell; rep from * around, join with sl st to top of beg ch-3 (29 shells).
R4-8: Rep R3 (5 more times) (29 shells). Change to B.
R9-16: Rep R3 (8 times) (29 shells). Fasten off B.
Ear Slits (worked in rows on front of hat)
With A, join yarn at the 5th shell from the beginning of the round (approx. 3 inches from front center).
Row 1: Ch 3, 2 dc in same st, 3 dc in next 2 shells, turn (3 shells).
Row 2: Ch 3, 2 dc in same st, 3 dc in next 2 shells, turn. Fasten off (3 shells).
Skip 4 shells (for ear opening), join A at next shell.
Row 1: Ch 3, 2 dc in same st, 3 dc in next 2 shells, turn. Fasten off (3 shells).
Repeat the two tabs above for the other side of the hat (back), leaving 4 shells between slits.
Flaps (make 2)
With B, ch 11.
Row 1: Sc in 2nd ch from hook and each ch across (10 sc).
Row 2: Ch 1, sc in each st across (10 sc).
Row 3: Ch 1, sc2tog, sc in next 6 sts, sc2tog (8 sc).
Row 4: Ch 1, sc in each st across (8 sc).
Row 5: Ch 1, sc2tog, sc in next 4 sts, sc2tog (6 sc).
Row 6: Ch 1, sc in each st across (6 sc). Fasten off, leaving a long tail for sewing.
Button Loop (make 2)
With B, ch 6, join with sl st to form a loop. Fasten off.
Edging
With B, sc evenly around the entire bottom edge of the hat, join with sl st. Fasten off.
Assembly and Finishing
Fold the brim up 2 inches. Sew the flaps to the front of the hat at each side of the ear slits, positioning them so they cover the slit edges. Sew the button loops to the underside of the flaps. Sew the buttons to the hat to correspond with the loops. Weave in all ends securely on the inside of the hat. Block lightly by misting with water and shaping flat, then let dry completely before the first wear.
Pro Tips and Variations
- Swap the rust for orange and the green for black for a classic Halloween look, or use any two contrasting colors you love.
- Add a small pom-pom or tassel to the top edge for extra personality.
- For a snugger fit, work the edging round in a slightly tighter tension, or add a second button on each flap for adjustability.